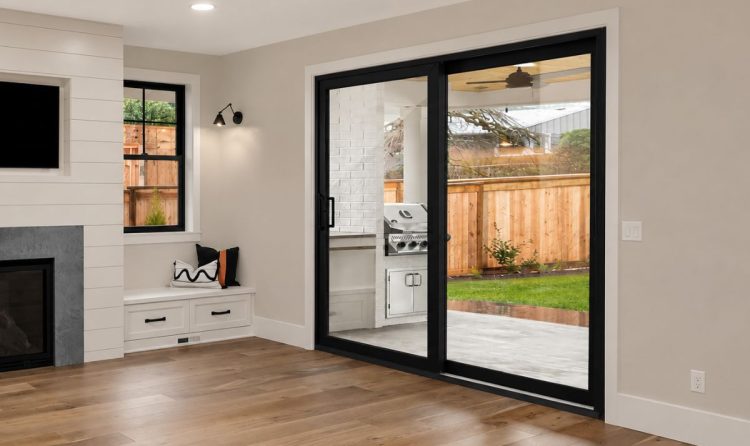
Tired of cracked or outdated door trim? Don’t worry because fixing it is easier than you think. Learning how to replace door trim is a simple way to freshen up any space without spending much.
This guide shows you how to remove old trim, choose the right style, and install the new one step by step. You’ll also learn how to use a door trim repair kit for small fixes and get practical tips for changing door trim around frames like your front door inside trim.
You’ll know exactly how to replace trim on door frames at the end.
Tools & Materials: What You’ll Need Before You Start
Before you start replacing door trim, gather everything you’ll need.
Tools You’ll Need:
- Hammer
- Pry bar
- Measuring tape
- Utility knife
These are your must-haves for removing old trim and setting up the new one.
Tools That Make It Easier:
- Miter saw – for neat corner cuts
- Caulking gun – helps with sealing gaps
- Finish nailer – quicker than using a hammer
You don’t need these extras, but they’ll save you time and give cleaner results.
What to Buy:
- New door trim (MDF, wood, or PVC — pick what fits your style)
- Wood filler (to cover nail holes)
- Paintable caulk
- Paint or stain (to match your room)
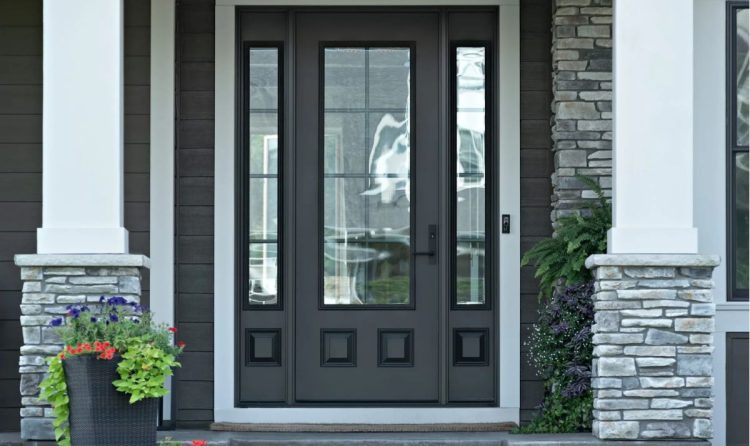
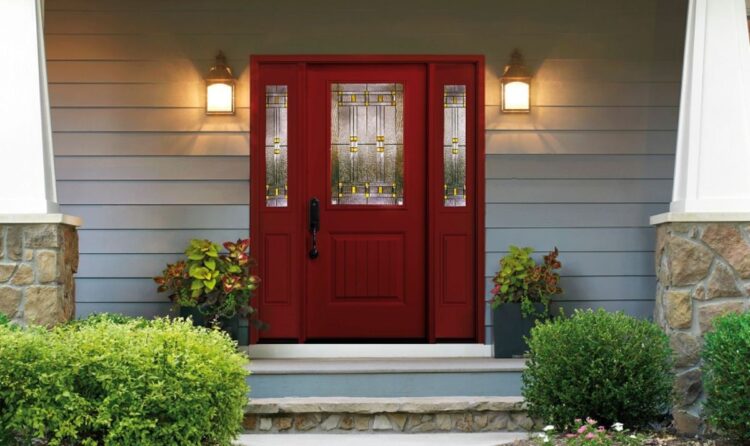
Different Types of Door Trim (Style Guide)
Trim may be small, but it changes how your space looks. The right style can make your home feel cleaner, cozier, or more modern.
Popular Trim Styles
- Colonial – Decorative with a classic feel. Good for older or traditional homes.
- Craftsman – Simple and bold. Great in vintage homes or bungalows.
- Modern – Clean and flat. Perfect for updated, minimalist spaces.
- Rustic – Has texture and a natural look. Fits well in farmhouse-style homes or cabins.
Step-by-Step Guide: How to Replace Door Trim
Not sure how to replace the door trim without messing it up? Don’t stress because these steps are easy to follow:
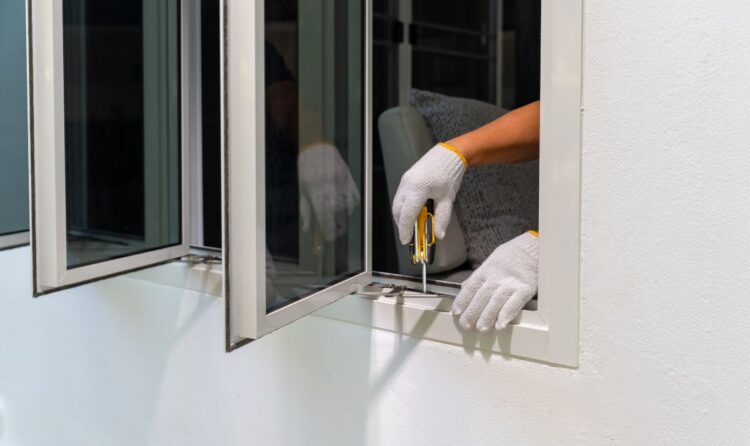
Step 1: Remove the Old Trim
Take a utility knife and cut along the edge of the trim. This keeps the wall paint from peeling.
Next, slide a pry bar behind the trim and gently pull it away from the wall. Take your time, especially around the corners because they’re often tighter and harder to remove.
Around the front door trim inside, take your time. Paint buildup or tight corners can make removal tricky.
Step 2: Measure and Cut the New Trim
Use your tape measure to get the exact lengths for the top and sides of the frame. Write them down and double-check before you cut.
A miter saw is great for cutting clean 45° angles at the corners. If you’re replacing door molding to match old trim then try to follow the same cut pattern.
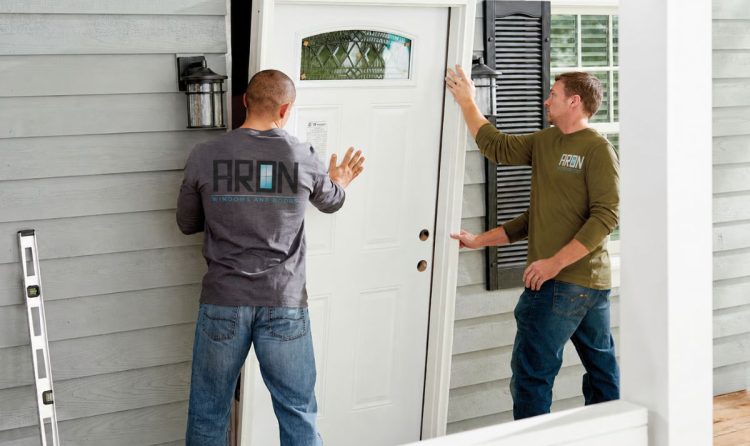
Step 3: Install the New Trim
Start with the top piece. Then add the side pieces. Use a level to make sure everything is straight. Nail the trim in place with a hammer or nail gun if you have one.
- If your wall or frame isn’t perfect (and most aren’t), you may need to adjust slightly as you go.
- Take your time when working on changing door trim near entryways. It’s one of the first things people see.
Step 4: Finish It Off
Now for the final touches.
- Fill nail holes with wood filler.
- Lightly sand any rough spots.
- Caulk the edges for a smooth look
- Let everything dry, then paint or stain it
Using pre-primed trim makes this last part faster and cleaner.
Common Mistakes to Avoid When Replacing Door Trim
- Not cutting the caulk first can pull paint or damage the wall
- Guessing your measurements usually leads to wasted trim.
- Using too many nails can split the wood.
- Not checking with a level can leave your trim looking crooked.
- Leaving little gaps unfilled makes the job look messy.
- Skipping sanding can make your paint go rough
- Painting over dust or dirt keeps the paint from sticking.
- Mixing trim types can make the final look feel off.
- Putting trim on bumpy walls without adjusting can leave gaps.
- Rushing through it often leads to doing it all over again.
Replace vs Repair – What’s Best for You?
If only part of your trim is damaged, a door trim repair kit might be all you need. If you need professional door repair services, contact us. We also have the expertise in New door installation in New Jersey.
Here’s a quick look at both options:
Replace Trim | Repair Trim |
Good for full upgrades | Best for small damage |
Takes more time and tools | Quicker and easier |
Lets you change the style | Keep your current look |
Costs a bit more | Budget-friendly |
How Much Does It Cost to Replace Door Trim?
Wondering how much it’ll cost to replace door trim? It depends on the material and tools you already have.
- Basic trim (MDF): $1–2 per foot
- Solid wood trim: $2–5 per foot
- Tools (if you don’t own them): $50–150
For a standard door, expect to spend around $20–60 per door, depending on your choices.
DIY tip: If you already have the tools, you’ll save a lot on labor costs.
Tips for Replacing Door Trim
- Cut along the caulk line first so you don’t rip the paint or wall.
- Stick the painter’s tape next to the trim before pulling it off.
- Mark each piece after you cut it so you know where it
- Try your corner cuts on a scrap piece before cutting the real one.
- Use a level to make sure everything lines up straight.
- Give the trim a quick sanding before you paint it.
- Fill small gaps between the wall and trim with caulk.
- Wipe off extra caulk right away with a damp cloth.
- Don’t use too many nails.
- Use a repair kit if you just need to fix a small dent or crack.
Final Thoughts
Now you’ve seen how simple it can be to replace door trim with the right tools, a little patience, and a clear guide. You might have updated your front door inside trim, fixed damage using a door trim repair kit, or made a quick change to refresh your space.
These small upgrades bring a clean, finished feel to your home and now you know how to handle it yourself. If the next trim job feels like too much to tackle alone, that’s okay too.
We handle professional door installation, trim replacement, and more at aronwindows. So you can contact if you have any problem related door.
Frequently Asked Questions
A door trim repair kit is a quick-fix solution for small damage like dents, cracks, chips, or even minor warping on your door trim. Instead of replacing the whole thing, you can just patch it up saving time, money, and a lot of hassle.
Replacing exterior door trim is easier than it looks. Here’s a simple way to do it without damaging your door or siding:
- Cut the caulk line with a utility knife.
- Carefully pull off the old trim.
- Measure and cut new weatherproof trim (like PVC).
- Attach it with exterior nails.
- Seal with caulk and paint to match your home.
Carefully remove the old trim, then measure and install new trim that holds up in weather. Seal the gaps with caulk, and paint them with exterior paint or a water-resistant finish.
Cut the caulk line, gently pull off the trim, then measure and cut new pieces. Nail them in, seal any gaps with caulk, and finish with paint or stain.
Remove the old trim with a pry bar. Cut and install new vinyl or PVC trim, nail it down, seal all edges with caulk to keep water out, and paint if needed.
Yes, absolutely. You don’t need to change the whole frame. Just measure the trim properly and pick a style that matches the rest of the door.
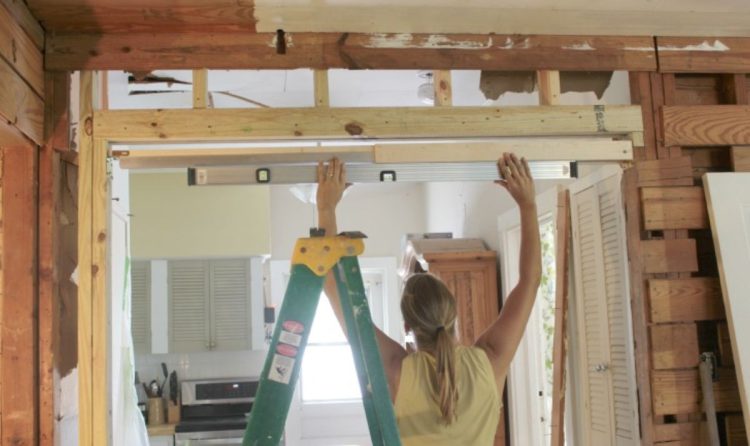
Yes, but it’s a bigger job than replacing trim. You’ll need to take off the door and trim, and maybe make some adjustments to the opening. It’s doable, but not as quick as just swapping the trim.
Pop off any clips or fasteners holding the trim in place. Some cars may need the inside panel removed. Once it’s off, line up the new trim and press it in with clips or trim glue.
Use a sharp knife to cut the caulk line first. Then slowly slide a pry bar behind the trim and lift it off gently so the wall or paint doesn’t get damaged.