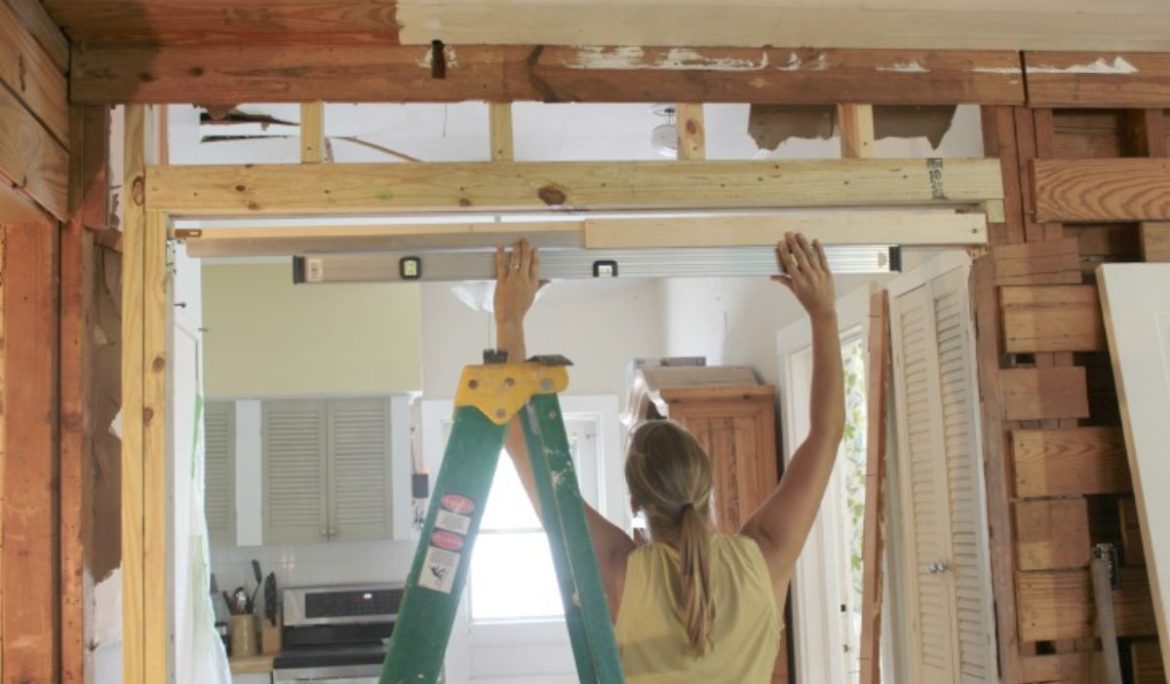
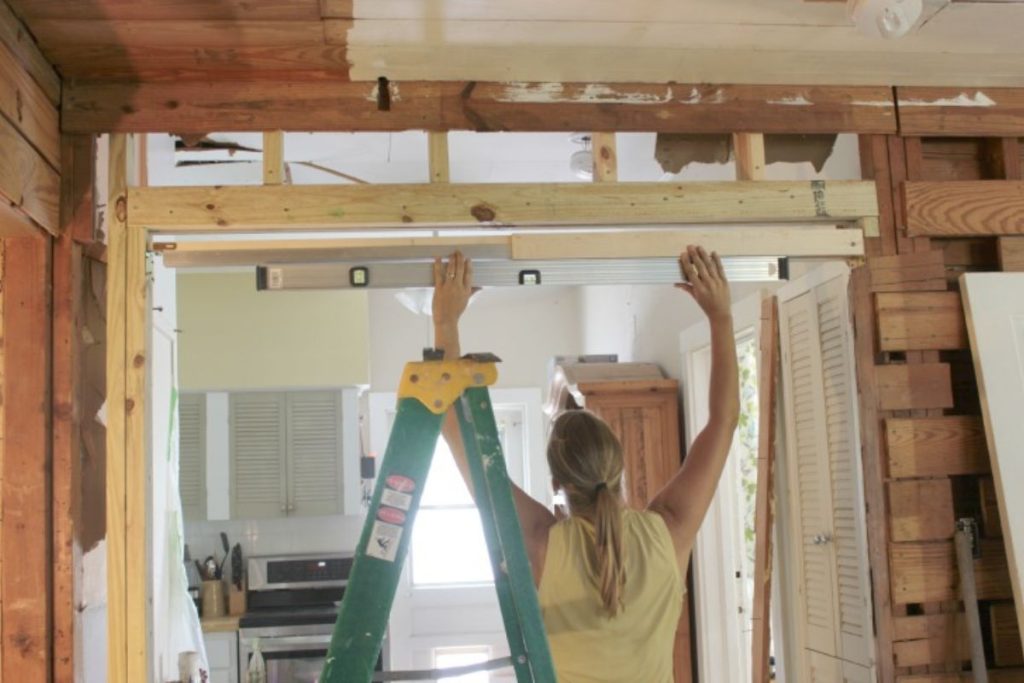
A regular door can take up more space than you expect. In a small room, the door swing can get in the way of furniture, storage, or walking space.
That is where a pocket door can help. It slides into the wall and keeps the doorway clear when the door is open. This is why it is a good choice for tight areas where space matters. However, you must install it correctly, otherwise you might not get the full benefit.
In this blog post, you will learn what a pocket door is, which tools and materials you need, and how to install a pocket door step by step. You will also learn the common installation mistakes to avoid and when it is better to call a professional.
What Is a Pocket Door?
A pocket door is a door that slides into the wall instead of swinging open. The open space inside the wall is called the pocket. When you open the door, it slides into that pocket and stays out of the way.
This makes it helpful in small rooms. You can use a pocket door in a bathroom, closet, laundry room, pantry, or hallway. It works well when there is not enough room for a swinging door.
Tools and Materials Needed for Pocket Door Installation
Before installing a pocket door, you should know which tools and materials you need. This will help you stay prepared. The right tools also help you measure correctly, install the frame straight, and keep the door sliding smoothly. Here are the basic tools and materials you may need:
- Pocket door kit
- Door slab
- Track and rollers
- Door guides
- Level
- Tape measure
- Drill
- Screwdriver
- Saw
- Stud finder
- Shims
- Drywall
- Drywall screws
- Joint compound
- Trim and casing
- Door pull or latch
Some pocket door kits already include the track, rollers, and guides. You should check the box before buying extra parts. You may also need drywall and joint compound if you are opening an existing wall.
How to Install a Pocket Door Step by Step
Adding a pocket door may seem tricky at first, especially if you are working with an existing wall. It’s important to do things in the right order and not rush. Here is the step-by-step process to set up a pocket door the right way.
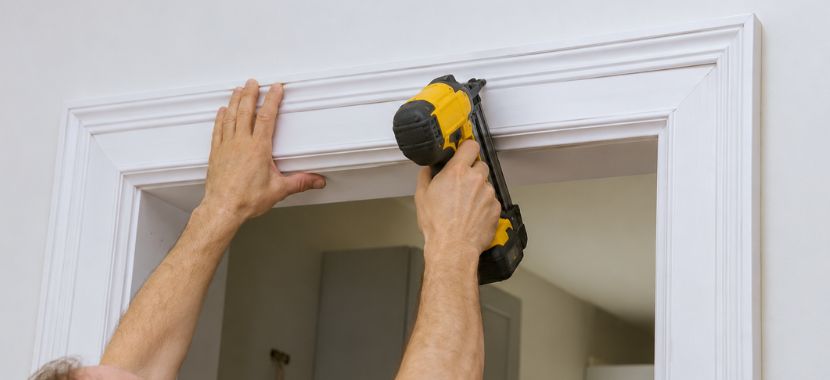
Step 1: Remove the Old Door and Trim
Start by taking the old door off the hinges. Once the door is out of the way, remove the trim around the opening. Use a pry bar gently so you do not damage the nearby wall. After the trim is removed, check the frame for any nails or screws. Take them out before moving on. This gives you a clear opening and makes it easier to inspect the wall in the next step.
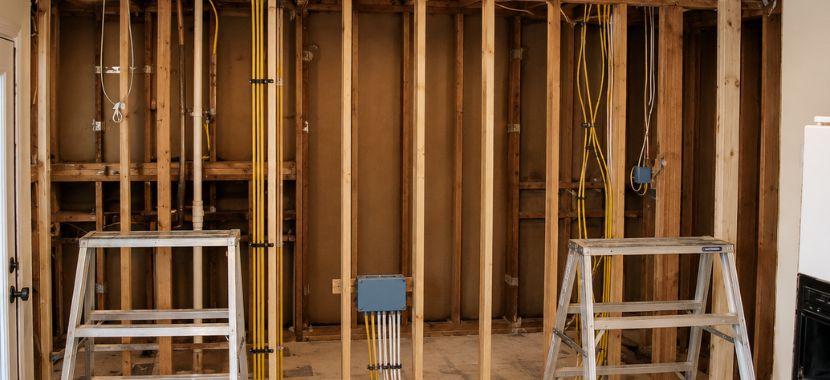
Step 2: Inspect the Wall for Wiring, Plumbing, or Obstructions
Before you open the wall, check what may be inside it. Use a stud finder to look for studs, wires, or other hidden items.
You should also look for signs of plumbing or vents nearby. If you find wires, pipes, vents, or extra framing, stop and check the area carefully before cutting. This step is important because a pocket door needs a clear space inside the wall to slide properly.

Step 3: Open the Wall and Prepare the Rough Opening
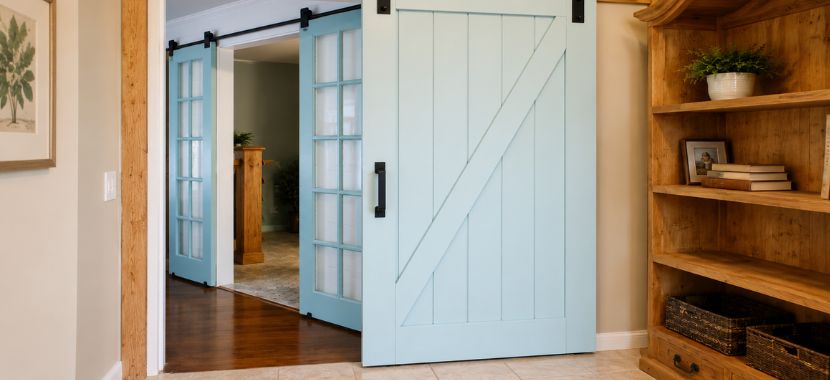
After the wall inspection, you can open the wall and prepare the rough opening. This is the space where the pocket door frame will fit.
To do it, mark the area on the wall by using the size guide from your pocket door kit. The opening must be wide enough for the door and frame system. Cut the drywall carefully along your marks. Remove only the drywall you need. Next, remove the framing from the pocket area only if it is safe to do so.
Do not cut load-bearing framing without proper support. You may also need to add a header above the door opening. Use a level to check the opening. The sides should be straight, and the top should be level.
Step 4: Install the Pocket Door Frame
Once the rough opening is ready, set the pocket door frame inside it. Follow the guide that comes with your pocket door kit because not every kit is built the same way. Before you screw anything in, check the frame with a level. The sides should be straight, and the top should be level.
Remember, secure the frame to the header and floor brackets. Do not force the frame into place. If the frame sits straight now, the door will slide better later.
Step 5: Install the Track and Rollers
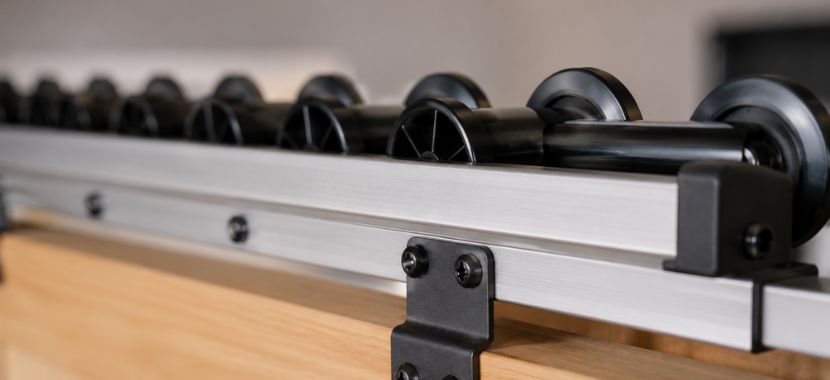
After the frame is in place, install the top track. This track holds the rollers and lets the door slide in and out of the wall. You can use the screws that come with your pocket door kit. Make sure the track sits straight before you tighten everything.
Next, attach the rollers to the top of the door slab. Follow the kit instructions, since roller styles can be different. Slide the rollers along the track to test them. They should move smoothly without catching or feeling loose.
Step 6: Hang and Adjust the Door
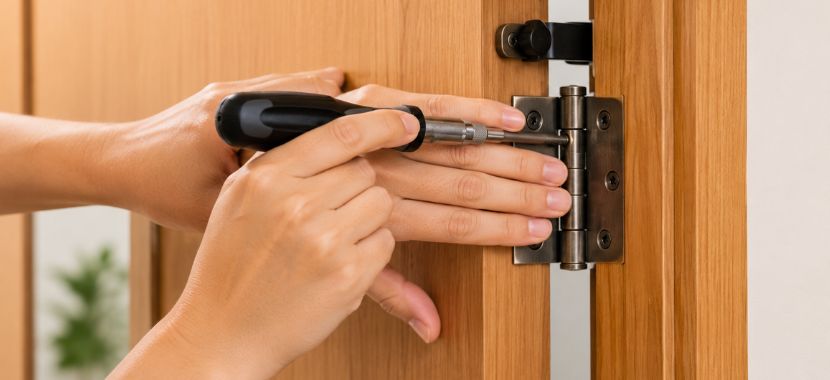
Once the track and rollers are working smoothly, lift the door and connect it to the rollers. This lets the door hang from the top track and slide into the pocket.
For that slide the door open and closed a few times. Check if it moves straight into the wall without rubbing. If the door sits too high, too low, or uneven, adjust the rollers at the top. Raise or lower the door until the gaps look even. These small adjustments help the pocket door slide smoothly and close properly.
Step 7: Install the Guides, Jambs, and Trim
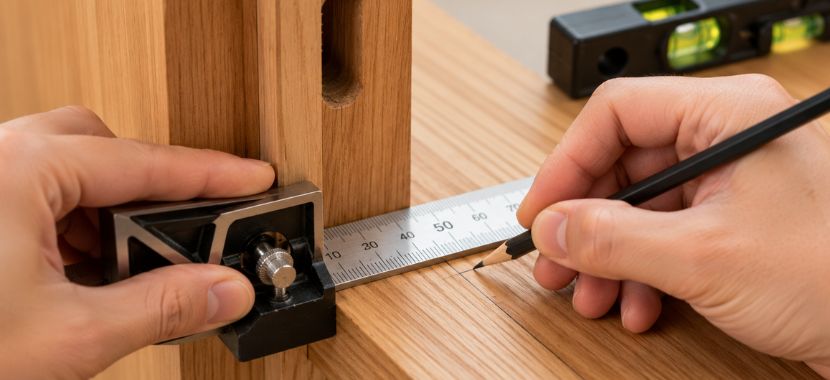
After the door slides smoothly, install the floor guides. These guides keep the door steady and stop it from swinging side to side. Next, add the jambs around the door opening. They help finish the frame and give the door a clean edge when it closes.
Once the jambs are in place, install the trim and casing. Cut each piece carefully so it fits well around the opening.
Step 8: Add the Door Pull and Test the Door
After the trim is in place, install the door pull or latch. Most pocket doors use a recessed pull so the door can slide fully into the wall. Use the template that comes with the hardware. Mark the spot carefully, then cut the opening for the pull.
Secure the pull with screws. If your door has a latch, check that it lines up and closes properly. For the final check, open and close the door several times. The door should slide smoothly, close evenly, and stay clear of the trim.
If anything rubs or feels tight, adjust it before you finish the job. If your old pocket door still does not slide well after adjusting the hardware, it may be time to replace it. Therefore, you must know how to replace a pocket door.
Common Pocket Door Installation Mistakes to Avoid
For a pocket door that slides smoothly and lasts longer, but make sure you avoid these common installation mistakes:
- Skipping the wall inspection: You should check for wires, plumbing, vents, and other obstructions before cutting the wall.
- Choosing the wrong pocket door kit: Your kit should match the door size, wall thickness, and rough opening. The wrong kit can make the door unstable or hard to slide.
- Not leveling the frame: The frame must sit straight inside the opening. If it is not level, then the door may rub, drag, or leave uneven gaps.
- Not securing the track properly: The top track should be straight and firmly attached. A loose or uneven track can make the door stick or slide poorly.
- Closing the wall too early: Test the door before adding drywall and trim. It is easier to fix the frame, rollers, or track while the wall is still open.
- Using hardware that does not match the door: A heavier door needs strong rollers, guides, and a solid track. The wrong hardware can make the door noisy, loose, or harder to slide.
- Forgetting the floor guides: Floor guides keep the door steady. Without them, the door may swing side to side when it moves.
When to Call a Professional for Pocket Door Installation
You can set up a pocket door yourself if the wall is open and you have basic carpentry skills. But some projects are safer and easier with a professional.
Call a professional if:
- The wall is load-bearing: A load-bearing wall supports weight from above. You should not cut it without proper support.
- There are wires, pipes, or vents inside the wall: These need safe handling before the pocket door frame can go in.
- The rough opening needs major framing changes: The opening must match the pocket door kit. If the size is wrong, the frame and track may not sit correctly.
- The door still does not slide smoothly after adjustments: This may mean that the frame, track, or rollers are not aligned correctly.
- The wall needs major drywall or trim repair: An existing wall often needs patching, sanding, and new trim after the frame is installed. A professional can help if you want a cleaner finish or if the repair is beyond basic DIY work.
If you already have a wall, it’s best to get help from a professional because it reduces mistakes and protects the wall.
Final Thoughts
At the end of the day, a pocket door is only as good as its installation. Careful planning, proper fitting, and smooth movement all help the door work better in everyday use. That is what turns a simple space-saving idea into a practical upgrade for your home.
For more guidance on door installation or other home improvement needs, you can contact Aron Windows and Doors. Their team can help you choose the right door option for your space and plan your next upgrade.