Replacing a pocket door might seem tricky, but with the right steps, it’s a manageable DIY project. Pocket doors are a stylish and space-saving solution for many homes, but over time, they can wear out or stop working properly. Whether your door is sticking, off-track, or simply outdated, knowing how to replace a pocket door can save you time and money.
In this guide, we’ll walk you through the process step-by-step, from removing the old door to installing the new one. With just a few tools and some patience, you can give your space a fresh, functional upgrade. Let’s dive into everything you need to know to tackle this project with confidence!
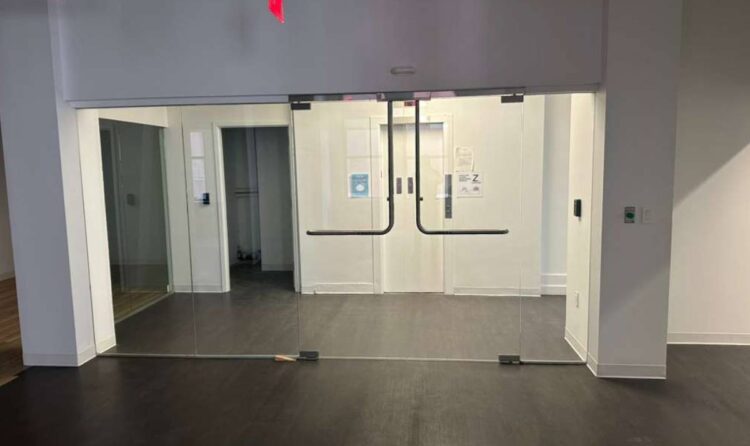
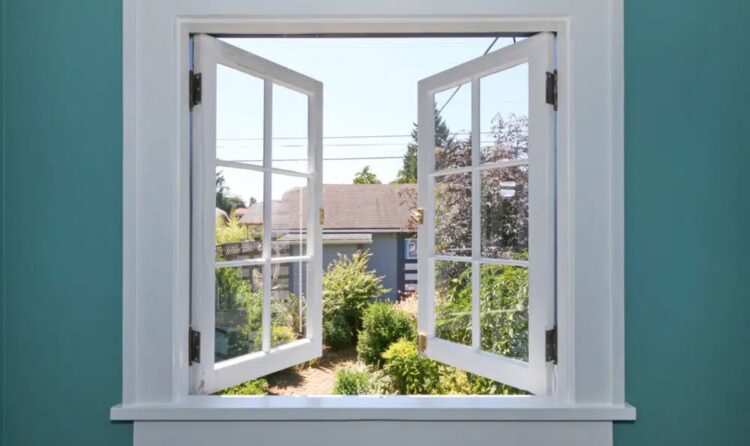
What Is a Pocket Door?
A pocket door is a sliding door that disappears into a hidden compartment inside the wall when opened. Unlike traditional hinged doors, pocket doors save space, making them perfect for small rooms, closets, or areas where swinging doors might be impractical. They’re typically mounted on a track system and glide smoothly in and out of the wall cavity.
Pocket doors are popular for their sleek, space-saving design and versatility. You’ll often find them in bathrooms, laundry rooms, or between rooms where conserving space is key. While they’re functional and stylish, wear and tear over time can lead to issues like sticking or misalignment, requiring repairs or replacement to keep them working seamlessly.
When Should You Replace a Pocket Door?
Knowing how to replace a pocket door is important when your door shows signs of wear or damage. You should consider replacing it if the door is sticking, making noise, or has broken hardware. Other signs include difficulty sliding, visible warping, or damage to the track system.
Sometimes, older pocket doors may not match your updated decor, making replacement a great way to refresh your space. By addressing these issues early, you can avoid further damage and keep your home functional and stylish. Read on to learn the key signs and steps to ensure your pocket door operates smoothly again! Consult a handyman expert for better door solutions.
Door Won’t Slide Smoothly
If your pocket door doesn’t slide easily, it’s often a sign of worn-out rollers or a misaligned track. Over time, dirt, debris, or general wear can make the sliding mechanism stick or grind. Fixing the issue may involve cleaning or lubrication, but if the damage is severe, replacing the door and its track might be the best solution.
Broken Hardware
Broken or missing hardware, such as rollers, tracks, or handles, can make your pocket door unusable. While some hardware can be repaired or replaced, significant damage often calls for a full door replacement. Updating the hardware ensures your door operates smoothly and matches your style.
Damaged or Outdated Door
A damaged pocket door with cracks, warping, or scratches not only looks bad but may also function poorly. Similarly, an outdated door can clash with your home’s decor. Replacing the door gives your space a fresh, modern look while restoring functionality.
Structural Issues
Structural problems, like a damaged wall cavity or frame, can affect your pocket door’s performance. These issues may cause misalignment or prevent the door from sliding properly. Addressing the structural damage and replacing the door ensures a smoother operation and prevents further complications.
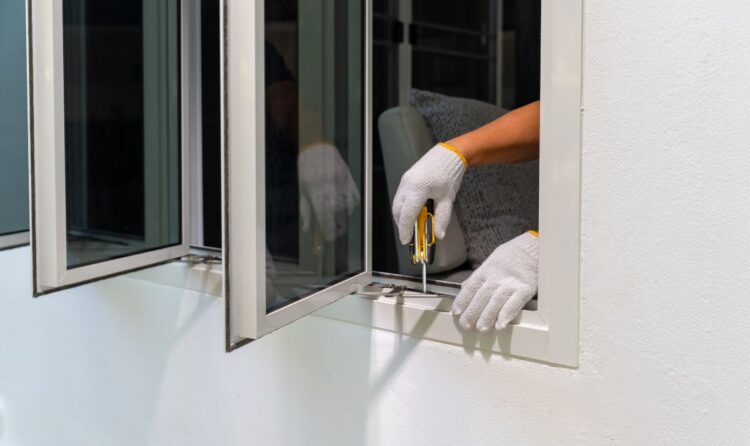
Tools and Materials You’ll Need
Before starting the replacement process, make sure you have all the necessary tools and materials ready. While the exact tools may depend on your specific project, here’s a basic list to get you started:
- Screwdrivers (flathead and Phillips)
- Utility knife
- Drill and drill bits
- Level
- Measuring tape
- Saw (circular or reciprocating)
- Hammer
- Pry bar
- New pocket door kit (includes door, track, rollers, and hardware)
- Wood shims
- Wood screws
- Drywall repair supplies (if needed)
Preparing these tools and materials in advance will help ensure the replacement process is smooth, efficient, and hassle-free.
How to Replace a Pocket Door: Step-by-Step
Learning how to replace a pocket door doesn’t have to be overwhelming when you follow a clear, step-by-step process. From removing the old door to installing a new frame and track, each step is straightforward with the right tools and guidance.
This detailed guide will walk you through the process, ensuring your pocket door operates smoothly and looks great in your space. Whether you’re tackling this as a DIY project or preparing for professional help, these steps will make the job easier. Let’s dive into everything you need to know to replace your pocket door with confidence!
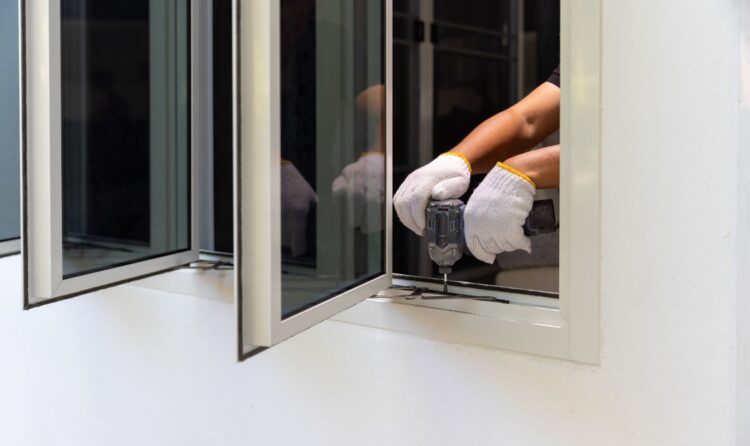
#1: Remove the Old Pocket Door
Start by carefully removing the trim or casing around the door to expose the wall. Use a utility knife to cut through any caulk or paint securing the trim. Once the trim is off, unscrew or pry out the nails holding the door frame in place.
Next, slide the door out of the track. If it’s stuck, gently loosen it with a pry bar. Remove the rollers and other hardware attached to the door. Check the area for any damaged drywall or framing, and repair it if necessary.
#2: Inspect the Wall and Frame
After removing the door, inspect the wall cavity and frame. Look for damage, like cracks, water stains, or mold. Repair or replace any damaged sections of drywall or framing before moving forward.
Measure the opening to ensure it matches the specifications of your new pocket door kit. If adjustments to the framing are needed, do this now to ensure the door and track fit correctly.
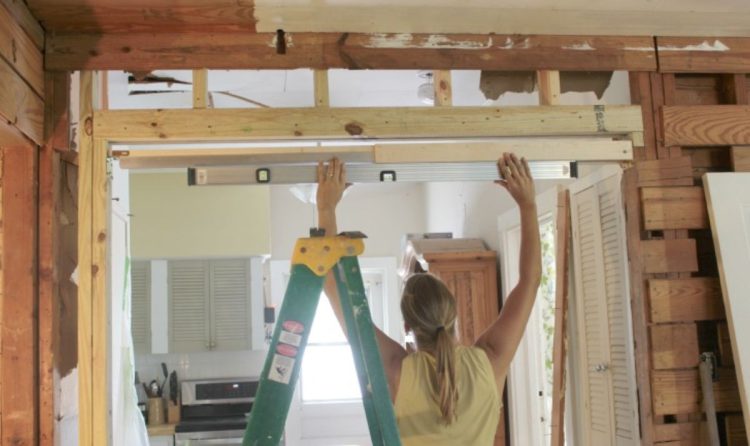
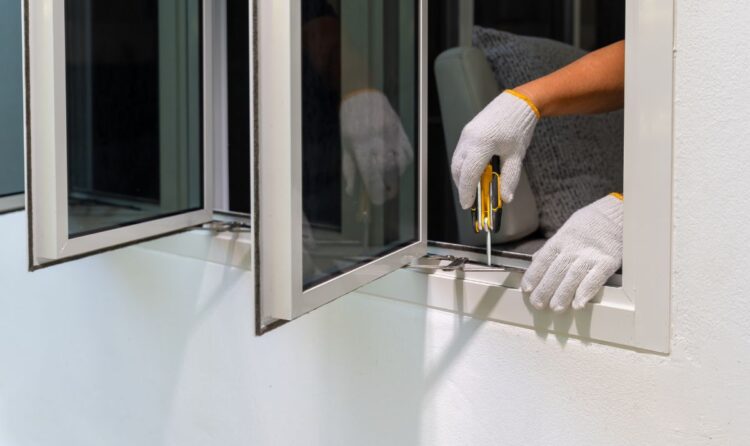
#3: Install the New Frame and Track
Begin by attaching the track assembly to the top of the frame. Use a level to ensure the track is straight before securing it with screws. Proper alignment is critical for smooth door operation.
Next, install the vertical jambs on both sides of the frame. These provide structural support and guide the door as it slides. Make sure the jambs are plumb and securely fastened.
#4: Attach the Pocket Door
Prepare the door by attaching the rollers to its top edge. If they’re not pre-installed, follow the manufacturer’s instructions to secure them correctly.
Carefully lift the door and guide it onto the track. Ensure the rollers align perfectly with the track and that the door moves smoothly in and out of the pocket. Adjust the rollers or track as needed for smooth operation.
#5: Install Hardware and Trim
With the door in place, add the hardware, such as handles or locks, following the manufacturer’s guidelines. Once the hardware is installed, attach the trim around the door opening to give it a polished look.
Use finishing nails or screws to secure the trim, and fill any gaps with spackle or joint compound. Sand the surface smooth, then touch up or paint as needed to match the walls.
#6: Test the New Pocket Door
Finally, test the pocket door to ensure it slides smoothly and aligns with the frame. Open and close it several times to check for resistance or misalignment. Adjust the track or rollers as needed for seamless operation. Your new pocket door is now ready to use! If you need any door services like door installation, door repair, or door replacement services in New York City contact a professional handyman expert.
Common Challenges When Replacing a Pocket Door
Replacing a pocket door can be tricky, especially if you’re new to construction work. Here are some common challenges you might face:
- Improper Fit: The new door might not fit properly into the pocket if the opening or framing wasn’t measured correctly.
- Track Misalignment: If the track isn’t installed or aligned correctly, the door won’t slide smoothly.
- Structural Damage: Damage to the wall or framing may need repairs before installing the new door.
- Hardware Compatibility: Rollers, handles, or other hardware might not work with the new system, requiring adjustments or replacements.
To avoid these problems, take accurate measurements, follow installation steps carefully, and use quality materials. Most issues can be fixed with a bit of extra attention and effort!
Conclusion
Knowing how to replace a pocket door can save you time, money, and the hassle of dealing with a faulty door. While the process may seem challenging at first, following the right steps and preparing the necessary tools can make the job manageable, even for beginners. From removing the old door to installing the new one, attention to detail is key for a smooth and functional result.
By addressing common challenges, like misalignment or hardware issues, you can ensure your pocket door operates perfectly and enhances your space. Whether it’s for a fresh look or to fix ongoing issues, replacing a pocket door is a rewarding DIY project that can transform your home.