Wondering how to replace a door frame yourself? A damaged or poorly installed door frame isn’t just frustrating, it can also affect your home’s safety and comfort. In this simple guide, you’ll learn how to spot when your frame needs replacing, how to remove your old frame safely, and exactly how to install a new door frame properly.
You’ll also see common DIY mistakes and how you can easily avoid them. You’ll get practical advice about tools, materials, and the cost of replacing a door frame. This will help you decide whether to do it yourself or hire experts like our team at Aron Window.
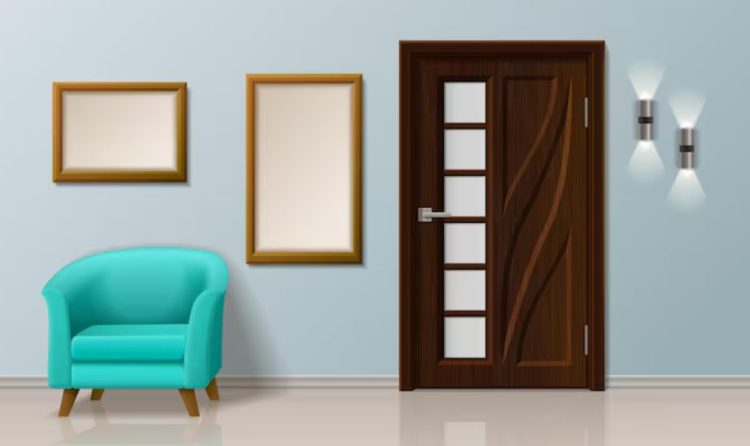
Signs You Need to Replace Your Door Frame
Not sure if your door needs replacing? Here are some simple signs to help you figure out whether your frame needs a repair or a full door replacement:
Look out for these clear signs:
- Cracks, rot, or structural weakness: These issues can weaken the frame and put your safety at risk.
- Difficulty closing the door: This likely means your frame is warped or misaligned.
- Visible gaps or warping: Clear and visible gaps between the frame and wall indicate serious structural issues.
Tools and Materials Needed for DIY Door Frame Replacement
If you have the right tools and materials, replacing the door frame will be easier. Here’s a simple list of exactly what you’ll need for the job:
Having the right tools makes your job easier:
- Hammer (for removing nails, and securing the frame)
- Pry bar (to remove old trim carefully)
- Saw (handsaw or power saw)
- Measuring tape (accuracy is essential)
- Level (to ensure alignment)
- Screwdriver/drill and screws (galvanized screws for outdoor frames)
- Caulk gun (for sealing gaps)
- Safety gear gloves and goggles
Select the best door frame material for your needs:
- Wood: Affordable, easy for DIY installation (good for interior use).
- Metal: Best choice for durability and security, especially for exterior frames.
- Pre-hung frames: Quick, convenient installation, ideal for beginners.
- Custom frames: More flexibility for specific needs or unusual sizes
Step-by-Step Guide: How to Replace a Door Frame
Replace a door frame isn’t as hard as it seems. Let’s break it down simply, step-by-step, so you can handle it confidently.
Step 1: Remove Your Old Door from the Hinges
Open your door fully. Gently remove the hinge pins using a screwdriver or hammer, then carefully lift the door away. Set it safely aside.
Step 2: Carefully Remove the Trim and Molding
Use a pry bar to gently loosen and remove the trim around the door frame. Take your time to avoid accidentally damaging your drywall or paint.
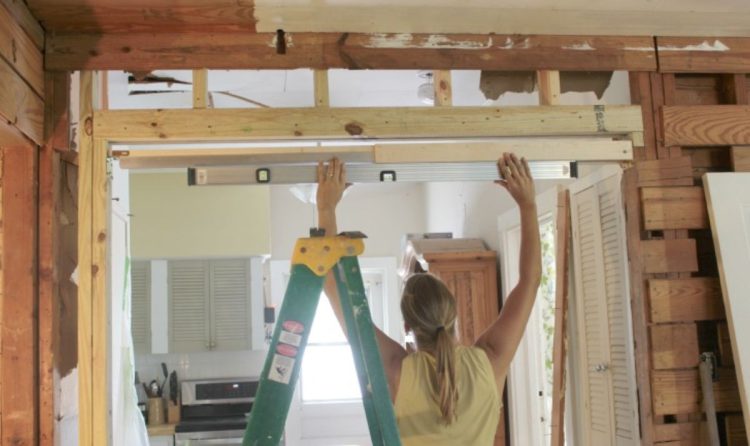
Step 3: Completely Remove Your Old Door Frame
Use your saw or pry bar to carefully cut through any nails holding the frame in place. Remove each piece slowly to protect your walls from accidental damage.
Step 4: Prepare Your Doorway for the New Frame
Remove any debris, dust, or old caulk. Make sure all surfaces are smooth, even, and ready for the new frame.
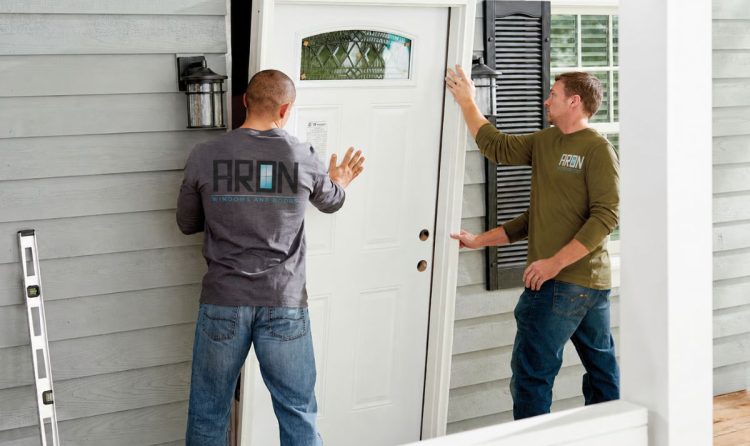
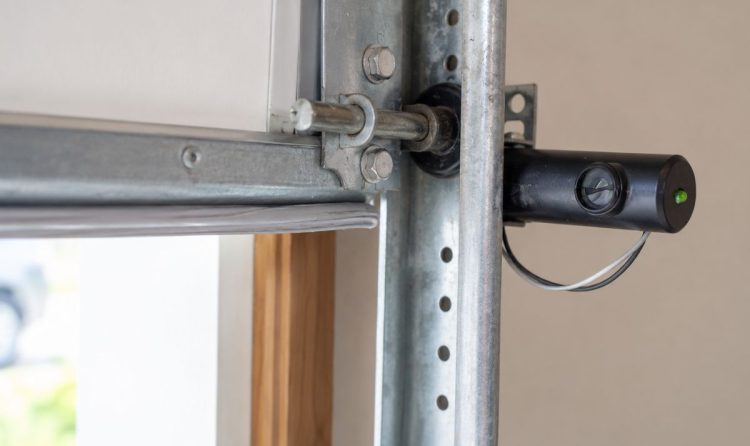
Step 5: Install and Align Your New Door Frame
Carefully place your new frame into position. Check its alignment thoroughly using your level. This is important.
- If the doorway isn’t perfectly even, use small wooden shims to adjust the frame.
- Once everything looks straight, secure it firmly using galvanized screws (highly recommended for exterior doors).
Step 6: Add the Finishing Touches
Now, it’s time to install the trim and molding around your new frame. Make sure to seal the edges with caulk to keep out drafts and moisture. Finally, give it a fresh coat of paint or stain to match your home’s décor and add a beautiful finishing touch!
Tip: Always double-check alignment before finishing your door installation to ensure your door opens and closes smoothly.
Common DIY Door Frame Replacement Mistakes & How to Avoid Them
If you’re not careful then you can commit mistakes easily. Here are the most common mistakes and how you can easily avoid them:
- Mistake: Measuring incorrectly
- Solution: Double-check every measurement.
- Mistake: Not leveling properly
- Solution: Keep your level handy. Make adjustments as you install, not afterward.
- Mistake: Skipping sealing and insulation
- Solution: Always seal any gaps with caulk and add insulation around your exterior door frame. This helps keep your home warm, blocks drafts and prevents moisture problems.
Door Frame Replacement Costs: DIY vs. Professional Installation
Trying to decide if it’s cheaper to replace a door frame yourself or hire a pro? Here’s a simple breakdown to help you figure it out.
DIY Installation Costs
Doing it yourself can save you money upfront and its costs range from $50 to $150. If you’re a beginner, expect to spend about 4–8 hours on the job, while experienced DIYers can finish in just 2–4 hours.
Professional Installation Costs
Hiring professionals typically costs $200–$600. Professionals usually finish in about 2–4 hours. They ensure accuracy, efficiency, and peace of mind.
If DIY seems challenging or you simply prefer an expert’s touch, the team at Aron Windows & Doors is ready to help. Our experienced team installs door frames quickly and professionally, saving you from potential mistakes and headaches.
Conclusion
Now that you’ve learned how to replace a door frame, you can confidently put your skills to work and complete the job with ease. If you measure carefully, remove the old door frame, and installed the new one properly then your door should function smoothly.
Proper door frame replacement not only improves your home’s appearance but also improves security and energy efficiency. Before finishing you need to do some works carefully such as double-check alignment, seal all gaps, and test the door’s movement to ensure a perfect fit.
If you feel that DIY is difficult job for you then you can you contact Aron Windows. Our team ensures a flawless installation with no alignment issues or costly mistakes.”Selecting between professional service and DIY door installation is an important decision that is key to a durable and hassle-free installation.
Frequently Asked Questions
Installing a door frame is simple if you follow the right steps:
- Remove the old frame and clean the doorway.
- Measure the opening to ensure the new frame fits.
- Place the new frame in the doorway and check if it’s straight.
- Use shims to fix any uneven gaps.
- Secure the frame with screws or nails.
- Finish up by adding trim, sealing gaps, and painting if needed.
- Taking your time ensures your door fits properly and works smoothly.
Replacing both the door and frame takes a few key steps:
- Remove the old door by unscrewing the hinges.
- Take off the trim and old frame carefully to avoid wall damage.
- Measure the opening so the new frame and door fit correctly.
- Install the new frame securely using screws and a level.
- Attach the new door and check for a smooth swing.
- Seal, paint, and add trim for a clean finish.
If you want an easier option, a pre-hung door (which comes with a frame) is a great choice.
The cost depends on the material, labor, and size of the frame:
- DIY Replacement: $50–$150 for materials (wood, screws, shims, etc.).
- Professional Installation: Usually $200–$600, depending on the job.
If your frame has rot or damage, the price may be higher.
If your frame is still in good shape that means you don’t need to replace it. Just swap out the door:
- Measure the existing door and buy one of the same size.
- Remove the old door by unscrewing the hinges.
- Check the frame for damage and make small repairs if needed.
- Attach the new door using the existing hinges.
- Adjust and test the swing to make sure it opens and closes smoothly.
- This method saves time and money while keeping your home looking fresh.
Measuring correctly is important to ensure a good fit:
- Measure the width from one inside edge to the other at the top, middle, and bottom. Use the smallest number.
- Measure the height from the floor to the top of the frame. Measure both sides and use the shorter one.
- Check the depth of the frame (standard is about 4 9/16″ for interior doors).
- Write these measurements down before buying a new frame to avoid mistakes.