A new interior door can make a room feel more private and complete. To get that result, it is important to know how to install an interior door before you begin the work, because even a small mistake can make the door hard to open or close.
That is why this guide gives you a clear overview of the whole project. You will learn what an interior door is, what tools and materials you need, the basic installation steps, and the common mistakes to avoid.
What is an Interior Door?
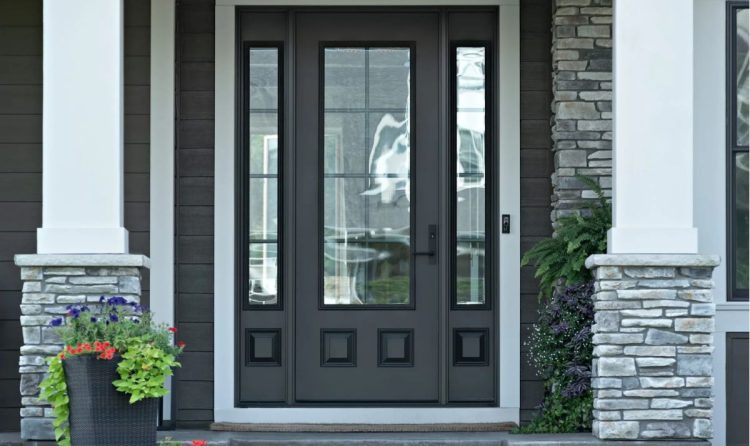
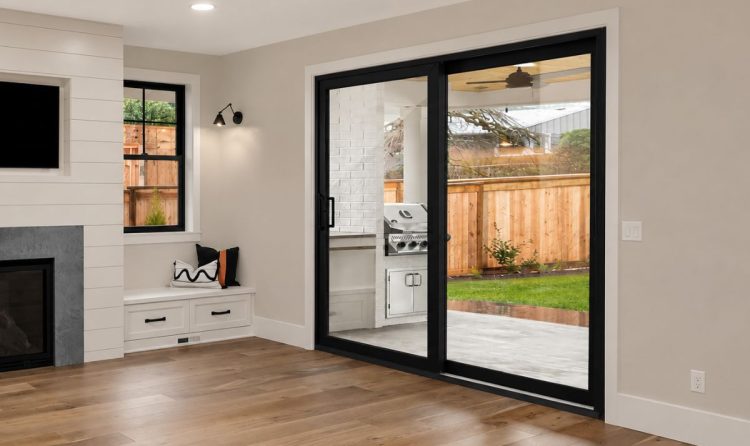
An interior door is used inside a house or home. It helps to separate rooms like bedrooms, bathrooms, closets, offices, hallways, and laundry rooms. They are usually lighter than outside doors. They do not need to block rain, wind, cold air, or outdoor noise the way exterior doors do. Interior doors come in different styles, such as panel doors, flush doors, French doors, pocket doors, and barn doors. If you are still choosing the right style, learning about the different types of doors for the home can help you find an option that fits your space and needs.
Tools and Materials Needed to Install an Interior Door
Before you install the interior door, always gather all the tools and materials you need. This will make the job easier and help you avoid stopping halfway through the project. These are needed for almost every interior door installation:
- Tape measure — helps you measure the door, frame, hinge position, and handle height.
- Pencil — useful for marking hinge spots, trim lines, and hardware placement.
- Drill or screwdriver — needed to remove old hardware and attach new parts.
- Level — helps check if the door and frame are straight.
- Hammer — used to remove or insert hinge pins.
- Screws — hold the hinges, latch, strike plate, and handle in place.
- Hinges — needed if the old hinges are damaged or the new door does not include them.
- Door handle or lockset — allows the door to open, close, and latch properly.
How to Install an Interior Door Step by Step
When you follow the steps in the right order, it’s much easier to install an inner door. A well-installed door should open smoothly, close properly, and sit evenly in the frame. To get that result, follow each step below in order:
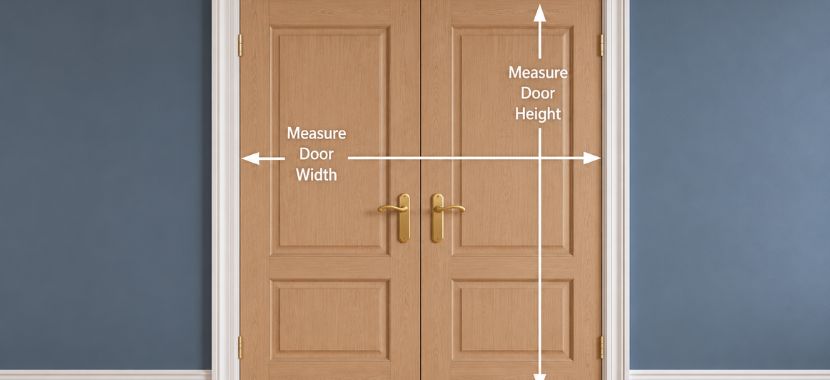
Step 1: Measure the Existing Door and Opening
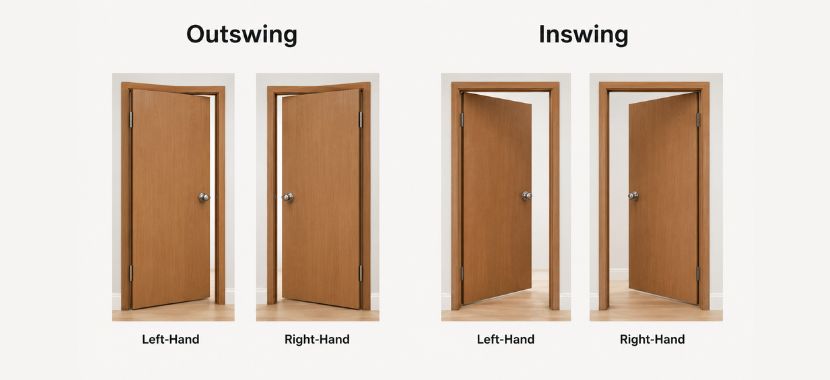
You can start the process by measuring the old door before you remove it. Check the height, width, and thickness so you have a clear idea of the size you need. After that, measure the door frame or opening. Take measurements in a few different spots because some openings are not perfectly even. Also check which way the door swings, so the new door opens in the right direction.
These measurements help you avoid fit problems during installation. If the door is too large, it may not fit into the opening. If it is too small, it can leave uneven gaps around the frame.
Step 2: Remove the Old Door and Frame
Once you have the measurements, you can remove the old door. Start by closing the door, then use a hammer and screwdriver to tap out the hinge pins. After the pins are out, lift the door off the hinges and set it aside. If you are only replacing the door slab, you may be able to leave the old frame in place. But if the frame is damaged, uneven, or you are installing a prehung door, remove the trim and old frame carefully.
Take your time during this step so you do not damage the wall around the opening. A clean opening will make the next part of the installation easier.

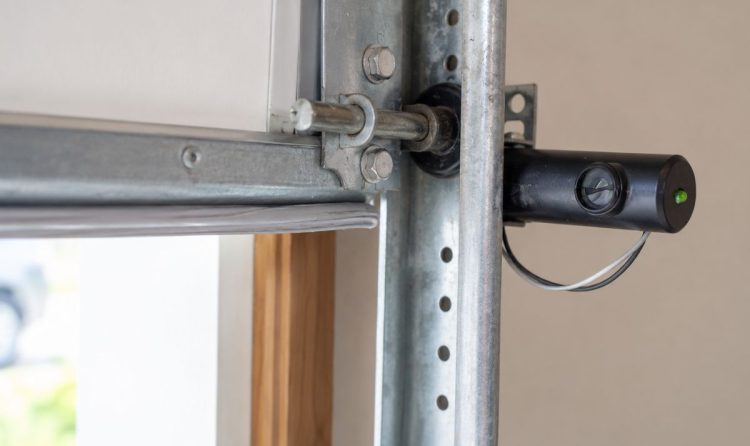
Step 3: Clean and Check the Opening
After removing the old door and frame, clean the opening before placing the new door. Pull out any old nails, screws, loose wood, caulk, or debris that could get in the way. Next, use a level to check the sides of the opening and the floor area under the door. The opening should be straight enough for the new door to sit evenly.
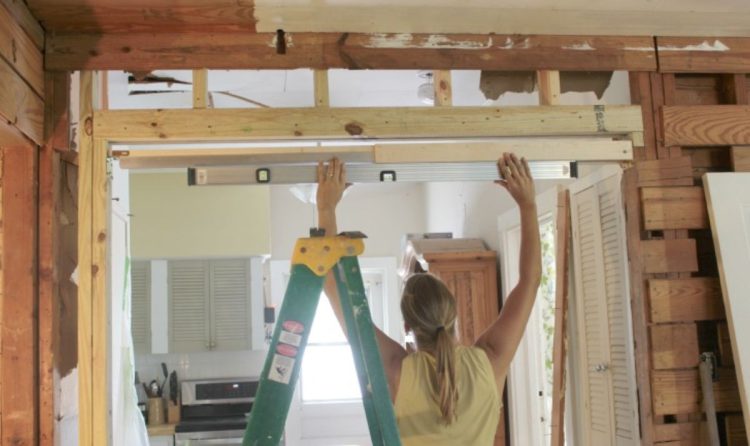
Step 4: Set the New Door Into Position
After the opening is clean and ready, place the new interior door into position. Line it up with the frame and make sure it sits the right way before you start securing any parts. Always make sure the door opens the right way. There should also be enough space around the top, bottom, and sides so the door can move without rubbing against the frame.
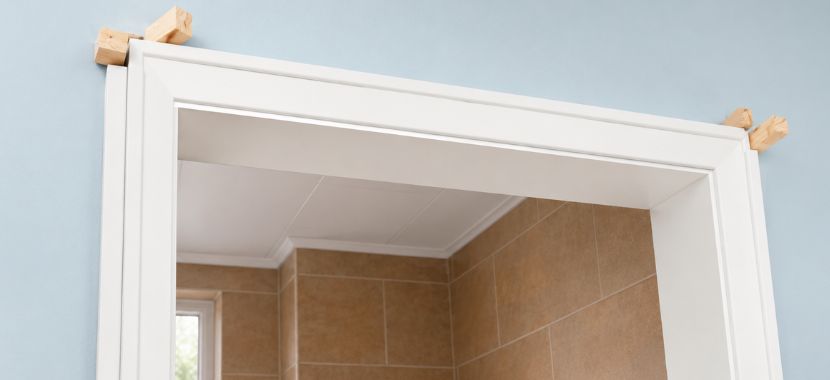
Step 5: Shim the Door Frame
After the door is in position, use shims if the frame needs small adjustments. Shims are thin pieces placed between the door frame and the wall opening to help keep the frame straight. To get the best support, place the shims where the frame needs to stay steady. Start on the hinge side because this side supports most of the door’s weight. Add shims where the frame needs support, then check the gaps around the door. The space should look even along the top and sides.
Step 6: Secure the Door Frame
When the door sits straight and the gaps look even, you can start securing the frame. Begin on the hinge side because this side holds most of the door’s weight. Drive screws near the hinges first to keep the door steady.
After that, secure the latch side. As you work, keep checking the gap between the door and the frame to make sure it stays even. Open and close the door a few times before the frame is fully secured so you can spot any movement early.
Tip: Keep the screws snug, but do not tighten them too much. If the screws pull the frame out of place, the door may rub, stick, or become harder to close.
Step 7: Check the Door Swing
After the frame is secured, open and close the door a few times to see how it moves. The door should swing smoothly without rubbing against the frame or dragging on the floor. Also look at the gaps around the top and sides while the door is closed. They should look even, and the door should not lean to one side.
If the door rubs, sticks, or swings open by itself, thats mean something may still be out of line, so adjust the frame or hinges before installing the handle and strike plate.
Step 8: Install the Handle and Strike Plate
Once the door swings smoothly, install the handle or lockset. Follow the hardware instructions and make sure each piece sits firmly on the door. Next, line up the latch with the strike plate on the frame. The latch should slide into the strike plate without force when the door closes. After installing the hardware, test the door again. It should latch properly and open without sticking.
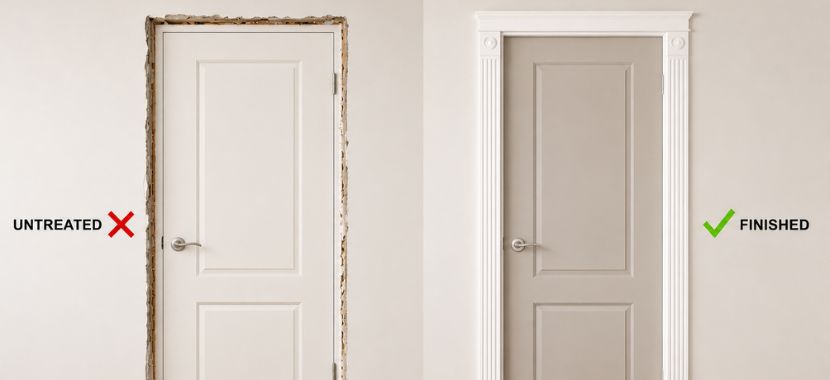
Step 9: Add Trim and Finish the Door
After the handle and strike plate are installed, add the trim around the door to cover the edges of the frame. If the old trim is still in good shape, you can reuse it for the final finish. However, if the trim is cracked, loose, or outdated, this is a good time to replace door trim so the new door does not sit inside a worn-looking frame. Once the trim is in place, fill small nail holes with wood filler and caulk any small gaps where the trim meets the wall.
Step 10: Do a Final Check
To finish the installation, open and close the door several times to make sure it moves smoothly. As you test the door, make sure the handle turns easily and the latch goes easily into the strike plate.
You should also pay attention to how the door sits when it is partly open. If it stays in place without swinging open or closed on its own, that is usually a good sign that the frame is lined up well. Finally, make sure the trim is firmly attached, with everything looking neat and properly finished.
Common Mistakes to Avoid When Installing an Interior Door
Installing an interior door is not only about following each step. Sometimes, the door may still not work well if small details are missed during the process. These small issues can affect how the door opens, closes, and sits in the frame. To help you avoid those problems, here are the common mistakes to watch for:
- Measuring only once: Do not depend on one measurement. Some door openings are slightly uneven, so measure the height and width in more than one place before choosing or placing the door.
- Securing the frame too early: Before you screw the frame in place, make sure it is straight and the gaps around the door look even. If the frame is not lined up well, the door may rub, stick, or not close properly.
- Placing shims in the wrong spots: Shims protect the frame’s stability and straightness. If they are placed in the wrong areas, the door may sit unevenly or move out of position.
- Tightening screws too much: Screws should hold the frame firmly, but they should not bend or pull the frame. If they are too tight, the door may become harder to open and close.
- Not testing the door before adding trim: Open and close the door a few times before you add the trim. This makes it easier to fix small problems before the final finish.
Final Thoughts
After learning how to install an interior door, you can better understand why careful measuring, proper alignment, and a final check are so important.
When the door is installed the right way, it should open smoothly, close properly, and work well for daily use. If the job feels difficult or the door does not line up correctly, getting professional help can save time and prevent future problems.
In that case, Aron Windows & Doors can help with professional door installation services in NYC.