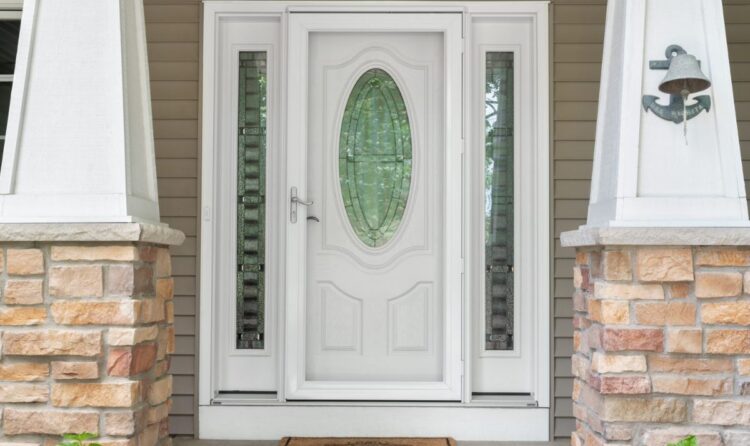
Do you have a loose or stuck Larson door handle? Don’t let a worn-out handle affect your door’s security or appearance. Learning how to replace Larson door handle is a simple do-it-yourself job that can save you time and money while improving your door’s function and look.
This guide gives you simple steps to remove the old handle, get the door ready, and install a new Larson handle without trouble. It also includes a list of tools and materials, easy fixes for common problems, and tips to keep your handle working well over time. We will also help you compare costs and explain when to hire a professional for harder jobs like damaged frames, rusty parts, or glass door repairs.
This guide has all the information you need to do the job quickly and simply, Whether you are fixing a broken handle, improving security, or updating the style.
Why Replace a Larson Door Handle?
Common Problems You May Face:
- Loose or Wobbly Handle: Screws may loosen over time, making the handle feel unstable.
- Sticking Latch or Lock Issues: Dirt, rust, or poor alignment may cause the latch to jam or stick.
- Security Concerns: Older handles may lack advanced locks, leaving your home less secure.
- Style Update: Replacing the handle gives your door a modern and polished look.
Pro Tip: While tightening screws or adding lubricant may fix minor issues, replacing the handle ensures a long-term fix with better durability and security.
Tools and Materials Checklist
Before starting your Larson door handle replacement, make sure you have the right tools and materials for a smooth and hassle-free installation. Proper preparation helps avoid delays and ensures accurate results.
Tools You Will Need:
✅ Flathead and Phillips Screwdrivers – For removing screws and installing new parts.
✅ Needle-Nose Pliers – For pulling out stuck latches and adjusting small parts.
✅ Drill and Drill Bits (Optional) – If you need to re-drill holes for alignment.
✅ Tape Measure – To check hole spacing and fit.
✅ Masking Tape – Protects glass and painted areas from scratches.
Materials You Will Need:
✅ Larson Handle Replacement Kit – Includes handle, screws, and latch. (Make sure it fits your door model.)
✅ Lubricant Spray (WD-40) – For fixing stiffness and preventing rust.
✅ Graphite Powder – Keeps locks moving smoothly without collecting dirt.
✅ Thread-Locking Glue (Optional) – Stops screws from loosening later.
✅ Rags or Paper Towels – For cleaning dust and dirt.
How To Replace Larson Door Handle: Step-by-Step Instructions
Replacing a Larson door handle is a straightforward DIY project with the right tools and preparation. Follow these step-by-step instructions to ensure a secure fit, smooth functionality, and lasting performance
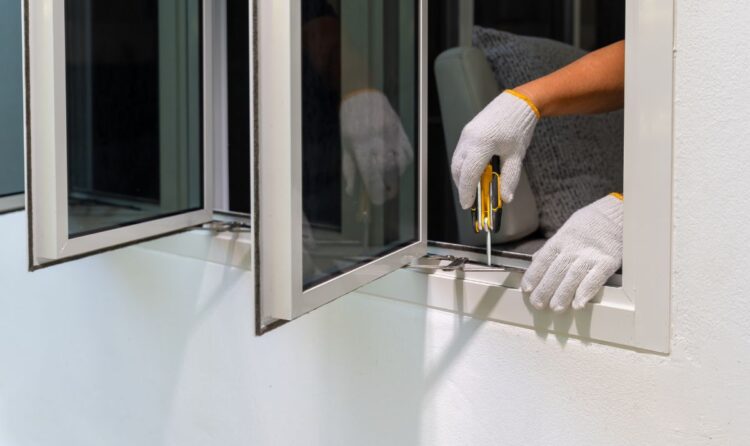
Step 1: Remove the Old Handle
Removing the old handle is the first step in the replacement process. Properly securing the door and safely handling parts will prevent damage and save time during reassembly.
- Secure the Door: Lock the door or use a wedge to keep it steady while you work.
- Unscrew the Handle: Use a Phillips screwdriver to take out the screws from the inside handle first.
- Take Off the Exterior Handle: Hold the outside handle while removing screws to prevent it from falling.
- Remove the Latch Assembly: If the latch is stuck, gently pull it out using pliers and avoid forcing it to prevent damage.
- Save Old Parts for Comparison: Put all screws and parts in a small container for reference when installing the new handle.
Pro Tip: Take a photo of the old handle setup before removing it. It can save time during reassembly!
Step 2: Clean and Prepare the Door
Preparing the door ensures a smooth installation process and prevents alignment or fitting issues. Cleaning and inspecting the area helps in avoiding rust, cracks, and misalignment problems.
- Clean the Area Around the Handle:
- Wipe the area with a rag to remove dirt, adhesive, and dust.
- Inspect for Damage:
- Check for rust, cracks, or scratches. Repair or repaint if needed.
- Measure and Check Fit:
- Use a tape measure to check if the new handle matches the hole spacing.
- Test-Fit the New Handle:
- Hold the handle in place before installing it to make sure it lines up properly.
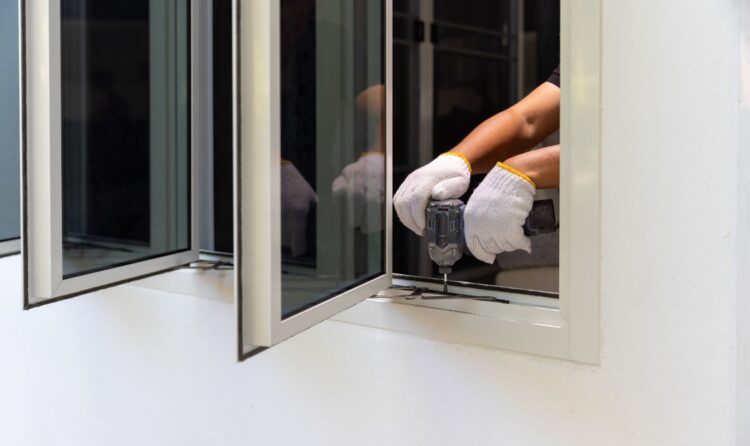
Step 3: Install the New Handle
Proper installation of the new handle is essential for functionality and security. Focus on alignment and gradual tightening to avoid errors during setup.
- Align the Handles: Insert the spindle (center rod) through the latch hole and position the handles inside and outside the door.
- Screw Them in Gradually: Tighten screws partially first to check alignment, then tighten them fully.
- Add the Lock Cylinder (if included): Insert the lock, then test the key rotation a few times to make sure it works smoothly.
Pro Tip: Add a small drop of thread-lock glue on the screws to keep them from loosening over time.
Step 4: Test and Adjust the Handle
Testing ensures the handle is aligned correctly and works without sticking or stiffness. Make adjustments as needed for optimal performance.
- Test Handle Movement: Open and close the door several times to check that it moves smoothly.
- Check the Latch: Make sure the latch springs back properly without sticking.
- Fine-Tune Adjustments: Loosen screws slightly if needed, adjust, and re-tighten.
Step 5: Final Checks
Final checks are critical for security, durability, and a polished finish. This step prevents future maintenance issues and enhances the door’s appearance.
- Double-check that all screws are tight and the handle feels secure.
- Apply lubricant spray to prevent stiffness.
- Clean fingerprints and dust for a polished finish.
Troubleshooting Table: Quick Fixes for Common Issues
Problem | Solution |
Loose Handle | Tighten screws or use thread-lock glue for extra hold. |
Latch Won’t Close Properly | Adjust the strike plate height or re-drill holes for proper alignment. |
Key Feels Stuck in Lock | Apply graphite powder and gently wiggle the key to loosen stuck pins. |
Latch Retracts Slowly | Spray WD-40 or silicone lubricant on the latch spring to fix stiffness. |
Maintenance Tips for Long-Lasting Performance
- Lubricate Regularly: Use silicone spray every 6 months to keep parts moving smoothly.
- Tighten Screws Monthly: Check for loose screws and fix them right away.
- Weatherproof the Handle: Put clear sealant around the edges to prevent water damage.
- Test After Weather Changes: Check locks and latches after extreme cold or heat to ensure smooth operation.
DIY Costs vs. Professional Installation Expenses
Replacement Option | Estimated Cost | Pros | Cons |
|---|---|---|---|
DIY Replacement | $20–$50 (for parts only) | Budget-friendly—no labor costs. – Easy to do in 30–60 minutes. – Satisfying for DIYers. | Requires basic tools and DIY confidence. – May involve trial and error. |
Professional Installation | $75–$150+ (including labor) | Time-saving—handled by experts. – Ideal for complex issues. – Comes with warranty. | More expensive due to labor fees. – May require appointment scheduling. |
Pro Tip: Always try to select DIY door installation for simple replacements, but opt for a professional installer if you face issues like damaged frames, misaligned doors, or broken lock mechanisms.
Budget-Friendly Options for Larson Handle Replacement Kits
Most Larson handle replacement kits include
- Interior and exterior handles.
- Latch assembly with screws.
- Lock cylinder (optional, depending on the kit).
Price Ranges for Kits
- Basic Kits ($20–$30): It is a good option for standard handle replacements. It focuses on functionality without advanced locks.
- Mid-Range Kits ($35–$50): Better quality materials and often include improved locks for extra security.
- Premium Kits ($60+): Stylish finishes and smart-lock compatible options for high-security upgrades.
When to Call a Professional for Larson Door Repairs
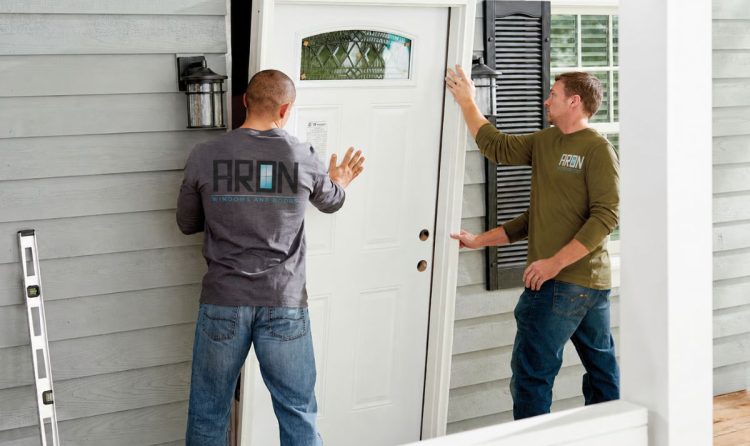
Replacing a Larson door handle is usually an easy DIY project. But problems like misaligned frames, stuck locks, or delicate glass panels can become expensive to fix if you don’t have the right tools or experience. In these situations, calling professionals like Aron Windows can save time, money, and frustration. The Key Scenarios Where DIY May Not Work are given below:
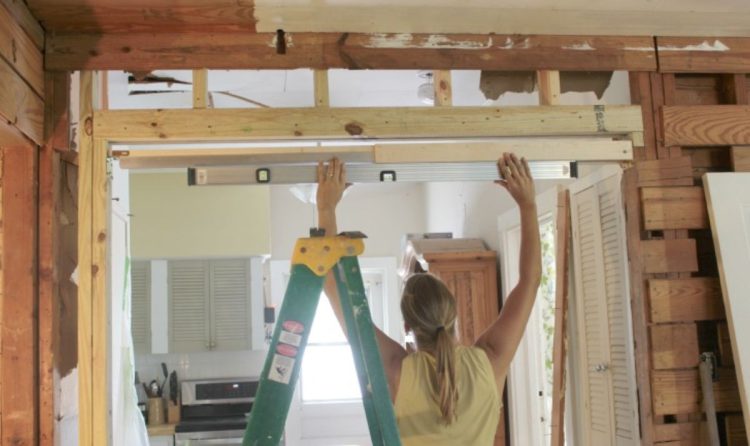
1. Damaged Door Frame or Strike Plate Area
Problem:
- Warped, cracked, or misaligned frames can prevent the handle or latch from working properly, even after replacement.
Why Call a Pro?
- Experts at Aron Windows can repair or replace damaged frames and realign strike plates for secure fit and lasting results.
- Professionals can prevent costly mistakes during installation by using advanced measuring and adjustment tools.
2. Complex Lock Mechanism Problems
Problem:
- Keys stick, won’t turn, or jam inside the lock, signaling internal damage to the locking system.
- Latches won’t move back, which might mean broken springs or parts that don’t fit properly.
Why Call a Pro?
- Technicians at Aron Windows are skilled at taking apart locks, finding problems inside, and fixing or replacing broken parts without damaging the door.
- They can also change lock keys or add high-security features for extra protection.
3. Glass Panel Doors with Risk of Damage
Problem:
- Glass panel storm doors look stylish but can easily crack or break if not handled carefully during repairs.
Why Call a Pro?
- Professionals at Aron Windows specialize in glass-safe installations, using protective padding and tools to prevent damage.
- Experts ensure that glass doors remain secure and undamaged during handle or lock replacements.
5. Rust or Damage in Parts
Problem:
- Older handles and locks with rust inside are often hard to fix yourself. This can make them tough to clean or repair.
- Using oil may only fix the problem for a short time.
Why Call a Pro?
- Aron Windows can replace rusty parts with stronger ones to prevent rust and keep them working well.
- Technicians can also apply protective coatings for added durability.
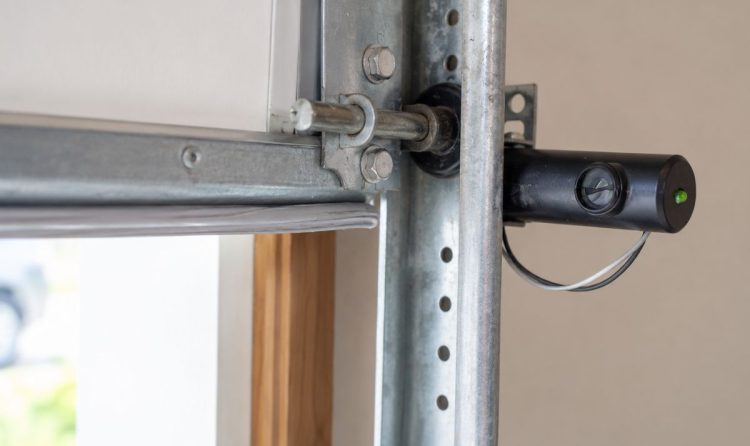
5. Persistent Alignment Issues After DIY Fixes
Problem:
- Handles that feel loose, uneven, or won’t lock properly after DIY fixes may have hidden problems. These issues often point to deeper structural damage that needs attention.
Why Call a Pro?
- Aron Windows provides expert inspections to find alignment problems. They also offer precise repairs to fix the issues.
- Professionals can re-drill holes, adjust strike plates, and test mechanisms to restore full functionality.
Conclusion
Replacing a faulty or outdated handle doesn’t have to be complicated. This guide showed you how to replace the Larson door handle step-by-step, from removing the old handle and preparing the door to the new one and testing its performance.
We also shared tips for fixing common problems and advice on keeping your handle working smoothly. Plus, we compared costs to help you choose between DIY fixes and professional repair.
Most replacements are quick and budget-friendly if you have the correct tools and are ready. But if you are dealing with damaged frames, rusted parts, or glass panel doors then don’t hesitate to call a professional for hassle-free door services.
Now it’s Your Turn! Follow this guide to replace your Larson door handle and enjoy better security, style, and functionality. And if the job feels too tricky, reach out to an expert to get it done right!
Frequently Asked Questions
Replacing a Larson door handle usually takes 30 to 60 minutes. it’s a quick and easy DIY job with the right tools and simple steps. Even beginners can do it without much trouble.
Yes, you can use a universal door handle on a Larson door, but you should check the size first. Measure the screw holes and latch spacing to make sure it fits. Most universal handles work, but you might need small adjustments during setup. Test the handle before tightening the screws.
You can buy Larson handle replacement kits at hardware stores like Home Depot or Lowe’s. They’re also available online at Amazon. Make sure to check the model number of your door to pick the right kit. Most kits come with handles, screws, and latches included.
In most cases, you won’t need to drill new holes to replace a Larson door handle. Larson handles usually fit into pre-drilled holes. If the new handle doesn’t line up, you might need to adjust the holes a little. Always test-fit the handle before you install it.
You will need a Phillips screwdriver, flathead screwdriver, and needle-nose pliers. If the holes need adjusting, a drill and bits may help. Always keep a tape measure handy for alignment and lubricant spray for stiffness.
Pro Tip: Lay out your tools before starting to save time during installation.
Check your Larson door model number or measure the hole spacing and latch size. Most replacement kits mention compatible models in the description. If unsure, bring your old handle to the store for comparison.
Pro Tip: Double-check measurements to avoid extra drilling or adjustments later.
Yes, you can replace a Larson door handle without taking the door off. Just lock it or use a wedge to keep it steady while you work.
Pro Tip: Take a photo of the old handle setup before removing it. It’ll help during reassembly.
If the new Larson door handle doesn’t line up, loosen the screws slightly and adjust its position. You may need to re-drill holes if the fit is off. Always test the latch and lock before tightening everything.
Pro Tip: Try to use masking tape around the area to protect the finish during adjustments.
To keep your Larson door handle in great shape, clean it regularly and lubricate the lock every 6 months. Check for loose screws and tighten them. Applying weatherproof sealant protects it from rust and damage.
Pro Tip: Test the handle after extreme weather changes to ensure it still locks and opens smoothly.
To fix a loose Larson door handle you can follow these steps:
- First, tighten the screws with a Phillips screwdriver.
- If the screws still come loose,
- use thread glue to keep them in place.
- If the handle feels shaky,
- check the rod or latch and replace any broken parts.
Pro Tip: Oil the latch and check the screws often to stop them from loosening again.