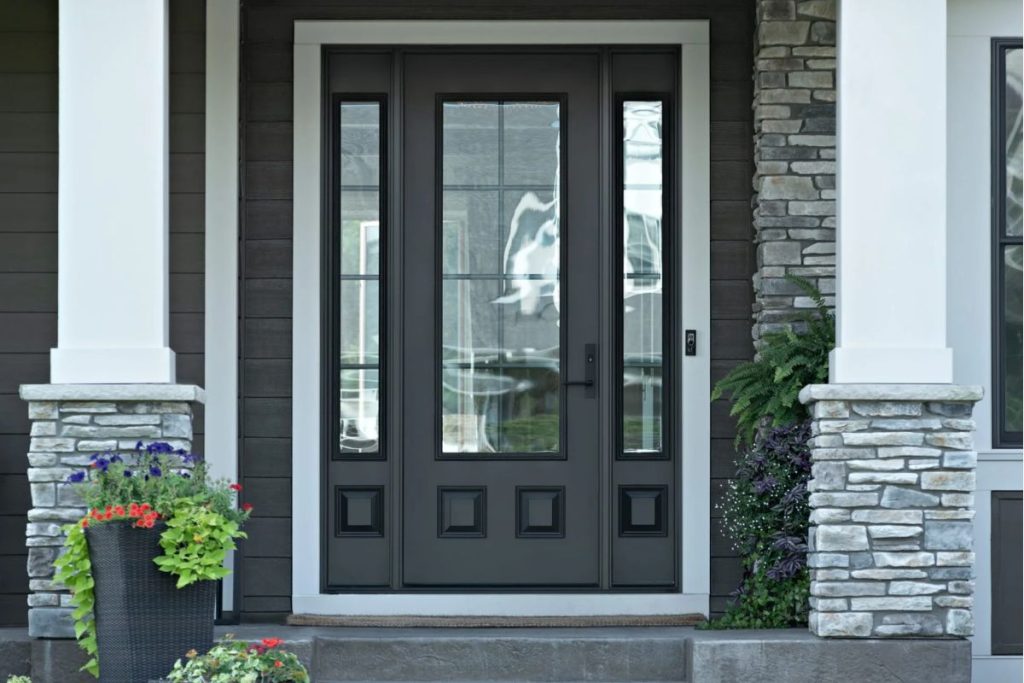
It might sound hard, but a lot of people can install their own outdoor doors if they know how to install an exterior door the right way. All you need is the right tools, a little time, and some patience. And a new door is well worth the effort because your front door keeps your home safe and helps lower your energy bills. It’s also the first thing people see when they come to your house. So when your old door starts sticking, letting in air, or just looking worn out, putting in a new one makes a big difference.
This guide will show you how to do it, one step at a time. You’ll learn what tools to grab, how to get everything right, and what mistakes to stay away from.
Tools and Materials You’ll Need to Install an Exterior Door
If you’ve got everything ready before you start a job, then you won’t have to stop in the middle of it to go to the tool store. Here’s what you’ll need:
Tools:
- Tape measure
- Pencil
- Level (a 6-foot level works best)
- Cordless drill
- Pry bar
- Utility knife
- Hammer
- Caulk gun
- Wood shims
- Safety glasses and work gloves
Materials:
- Your new pre-hung exterior door
- Exterior-grade screws
- Exterior caulk or sealant
- Spray foam insulation (low-expansion)
- Weatherstripping
How to Measure for an Exterior Door
Getting the measurements right is the most important part of the whole job. That’s because if the door doesn’t fit the opening, nothing else will go smoothly. So take your time here.
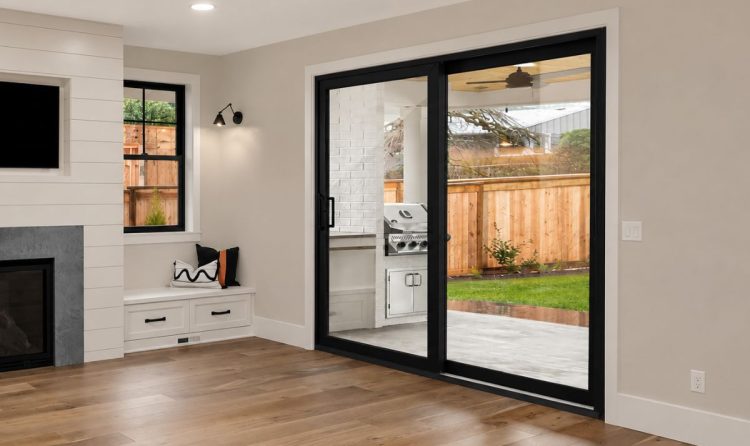
First, it helps to know how exterior doors are sold. Some come as just the door by itself. This is called a slab door. Others come with the door already set inside a frame. This is called a pre-hung door. For most people, a pre-hung door is the easier option to install, and that’s what this guide covers. Of course, not every door is an outside one. If you’re working on an inside door, here’s a separate guide on how to install an interior door. Now let’s measure for your outside door the right way:
- Width: Measure the opening from side to side in three places, at the top, middle, and bottom. Doorways aren’t always even, so write down the smallest of the three.
- Height: Measure from the floor to the top of the opening on both the left and right sides, then use the shorter of the two.
- Depth: Measure how thick the wall is, from the inside edge to the outside edge. Your new frame needs to match this.
Once you have these three numbers, you can buy a door that fits, or order one made to size if your opening isn’t standard
How to Install an Exterior Door and Frame, Step by Step
Alright, this is where the real work starts. You’ve already got your tools, measurements, and your door, so the planning is behind you. Now it’s just about putting it all together. Let’s get to it:
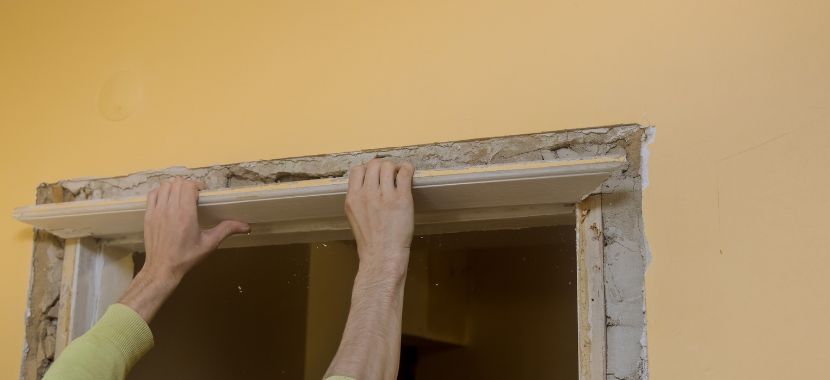
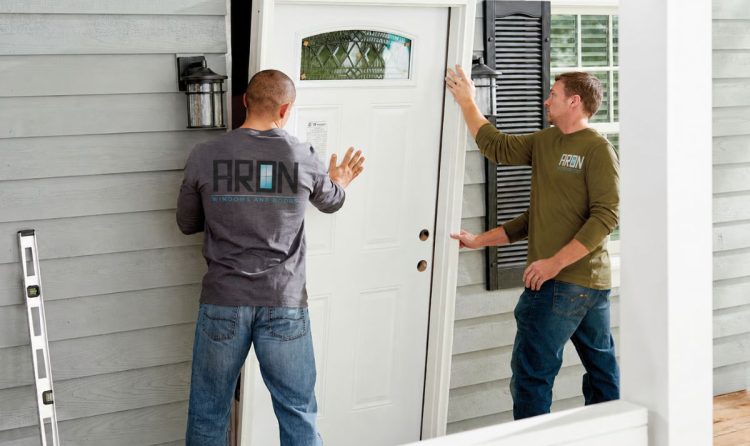
Step 1: Remove the Old Door and Frame
First, get the old door out of the way. If it has a knob or lock, take those off first. Then open the door and lift it off its hinges. If it won’t lift free, unscrew the hinges from the frame and take the door down. Some outside doors are heavy, so grab a helper.
With the door gone, it’s time to remove the frame. Use your pry bar to gently pull off the trim around the door, both inside and out. Then work the old frame loose and pull it out of the opening. Now take your time here and pry slowly so you don’t crack the wall or damage the area around the opening, as you’ll need that space clean and solid for the new door.
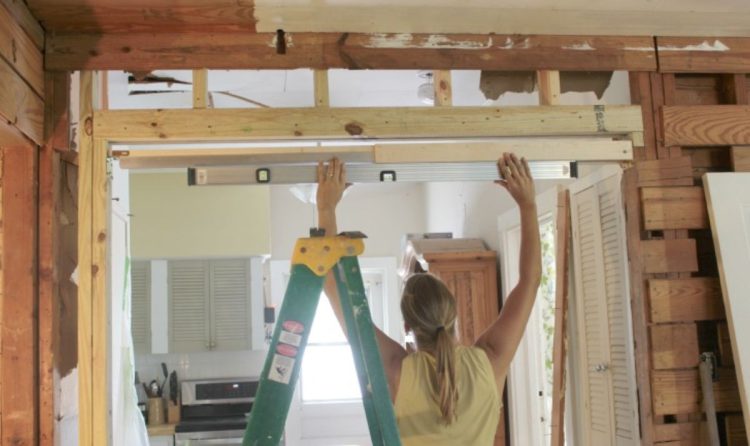
Step 2: Prepare and Check the Rough Opening
With the opening empty, clear out whatever the old door left behind, such as loose screws, nails, dried caulk, and bits of wood. You want it clean and bare before the new door goes in. Now check that the opening is straight. Lay your level along the bottom to see if it’s even, then hold it against both sides to make sure they’re straight up and down. Old houses settle over time, so don’t just assume it’s square.
Don’t skip: As soon as you notice something is wrong, fix it right away, as a crooked opening is the main reason a new door won’t close properly or stick.
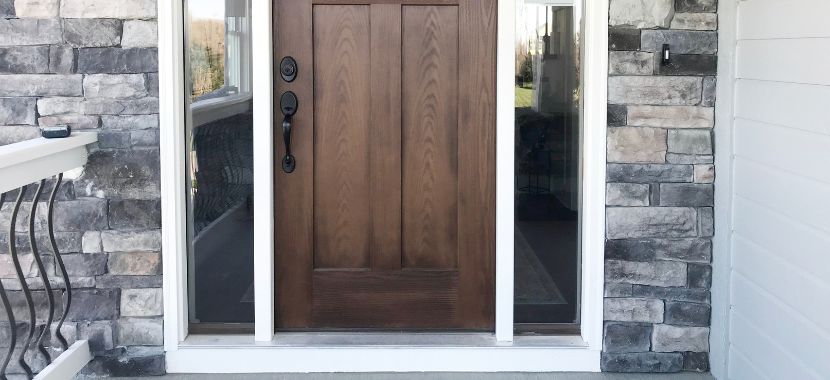
Step 3: Dry-Fit the New Door
Before you seal anything in place, do a quick test first. Lift the new door into the opening and see how it sits. This quick test is called a dry-fit, and it saves you from problems down the line.
Before installing the door, check the opening to make sure there’s a little clearance on both sides. From there, make sure it sits flush and that the frame isn’t pinched or leaning. Then open and close it a couple of times to see how it swings.
Step 4: Apply Sealant and Set the Door in Place
Now that you know the door fits, take it back out one more time. This time you’re setting it in for good. Start with the bottom of the opening. Run a few thick lines of exterior caulk along the sill area where the door will sit. This layer keeps rain and water from sneaking in underneath later on.
With the caulk down, lift the door back into the opening and press the sill firmly into it. Because it’s a pre-hung unit, the door and frame go in together as one piece. Push it up tight against the outside trim so it sits snug.
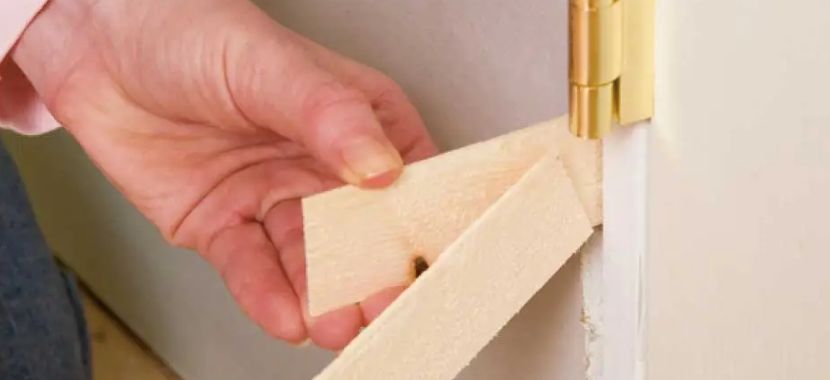
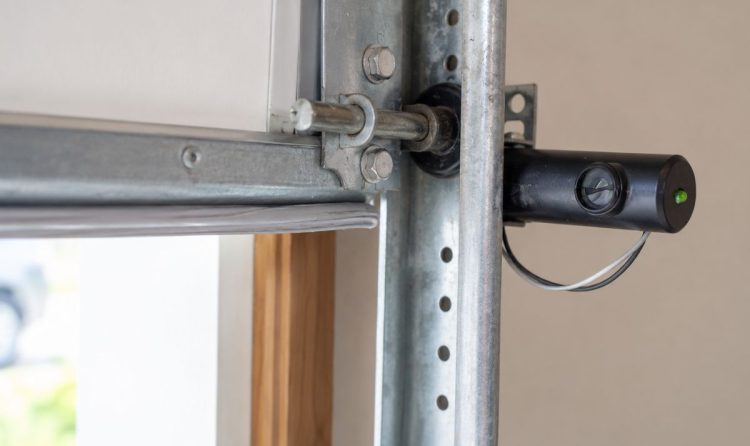
Step 5: Shim, Level, and Plumb the Door
This is the step that makes or breaks the whole job, so go slow and get it exactly right.
Grab your shims. These are the thin wedges of wood that let you make small adjustments to the frame. Slide a pair into the gap between the door frame and the opening near the top hinge. Then place a level against the hinge side of the frame to check that it’s perfectly straight up and down (plumb). If needed, move the shims in or out until the level shows that the frame is aligned correctly.
Then do the same across the top of the frame to check it’s level side to side. Work your way down the door, adding shims behind each hinge and along the latch side. Put one near the strike plate, too, as that spot takes the most stress when the door latches.
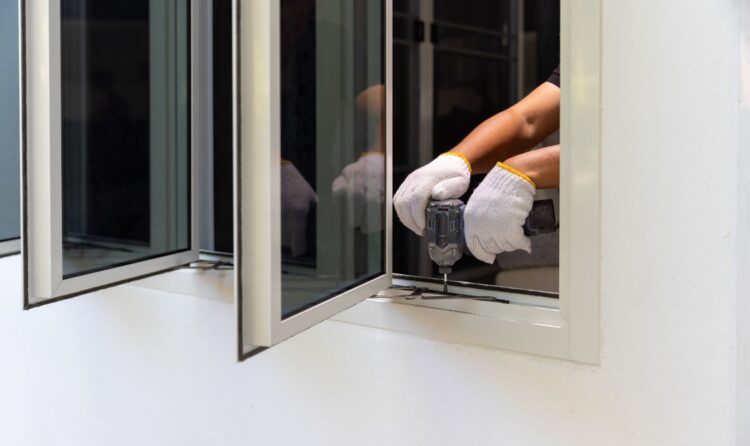
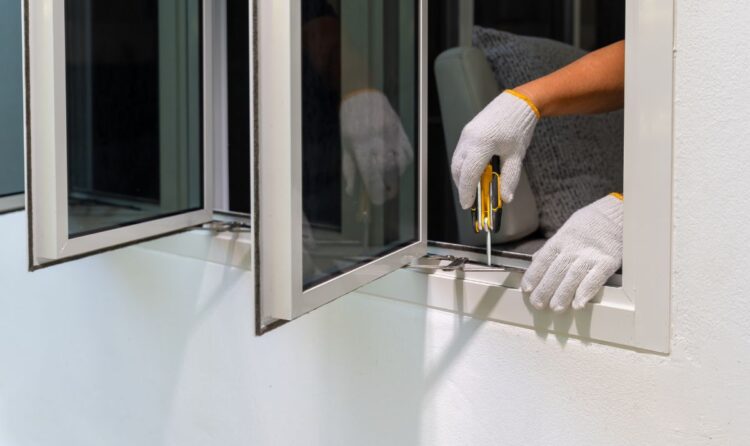
Step 6: Secure the Frame with Screws
Now that the frame is sitting straight, it’s time to lock it in place. Grab your drill and your exterior screws. You can start on the hinge side. Drive the screws through the frame and the shims behind it so everything stays put, then do the same on the latch side. Go easy as you tighten. If you crank the screws down too hard, you can pull the frame out of line and undo all that careful leveling. Just snug them up enough to hold firm.
Once they’re in, open and close the door a few times to make sure it still swings smoothly. If it does, you’re ready for the finishing touches.
Step 7: Insulate and Weatherproof the Gaps
Look at the space between the door frame and the wall. You’ll see small gaps there. You need to fill them so that cold air and water stay out. For that, use a low-expansion spray foam for this. Spray it slowly into the gaps. Do not overfill them. Too much foam pushes against the frame and makes the door stick. A light, even layer is all you need. Always give the foam time to dry. Once it’s set, cut off any extra with your utility knife. The edge should sit flush with the frame.
Now seal the outside. Run a line of exterior caulk around the frame where it meets the wall. This blocks drafts and keeps rain out. It also helps lower your energy bills over time.
Step 8: Install the Hardware and Test the Door
You’re almost done. Now it’s time to add the hardware and check your work. Start with the doorknob and the lock. Slide them into place and screw them in. If your door came with a deadbolt, install that too. Then add any weatherstripping that wasn’t already attached around the frame. Now test everything. Open and close the door a few times. It should swing smoothly and latch without a fight. Turn the lock and the deadbolt to make sure they catch the way they should.
Last, check for drafts. Close the door and run your hand around the edges. If you feel cold air getting in, adjust the weatherstripping until the seal feels tight. And that’s the whole job!
Common External Door Installation Mistakes to Avoid
Before you call the job done, it’s worth knowing about a few common mistakes that can cause problems later. A door that sticks, a cold draft, or water creeping in usually traces back to one simple slip, but they are easy to avoid once you know what they are. Here are the ones to watch out for:
- Skipping the measurements: This is the most common mistake of all. If you guess the size, your door won’t fit right. So always measure the opening before you buy.
- Not checking if the opening is level: A crooked opening throws everything off. Your door will stick or won’t close. Therefore, check it before the door goes in.
- Using too much spray foam: It feels like more is better, but it’s not. Too much foam pushes on the frame and makes the door stick. With that in mind, use a light layer of low-expansion foam.
- Tightening the screws too hard: Over-tightening bends the frame and ruins the leveling you worked on. Snug them up just enough to hold, no more.
- Forgetting to seal the outside: If you skip the caulk, water, drafts, and even insects can find their way through the gaps around the door frame. To prevent this, apply a continuous bead of exterior caulk where the frame meets the wall. This simple step helps keep out moisture and cold air while protecting your home from leaks.
- Not checking the door swing before buying: External doors come in left-hand and right-hand configurations. If you choose the wrong one, the door may not fit your space or open the way you need it to. To avoid these problems, always confirm the correct swing direction before making your purchase.
When to Call a Professional
A pre-hung door is something many people can put in on their own. But not every job is the same, and sometimes calling a pro is just the smarter move. Here are the situations where it pays to get help.
An opening that’s badly out of square. When this happens, a shim or two won’t fix it. It usually needs real framing work, which is tough to get right yourself. A pro can square it up safely and save you the trouble. A door that’s large, heavy, or custom-made. The weight alone makes these hard to handle, and one wrong move can damage the door or hurt you. This is a job where an extra set of trained hands really pays off.
Security is a top concern. A pro makes sure the door hangs tight and the locks line up the way they should.
If you live in New York City, where building rules and permits can come into play, it helps to know the local quirks before you begin. These door installation tips for NYC homes are a good place to start, and a local installer like Aron Windows & Doors can handle the rest for you.
Look, there’s nothing wrong with doing it yourself. But if any of these sound like your situation, calling a pro will save your time and money later on.
Wrapping Up
So that’s the whole job, from start to end. You’ve seen the tools you need, how to measure, how to seal the door, and the mistakes to stay away from. With a bit of patience, most people can do this themselves. But some customized doors are trickier to set up on your own. In that case, you can call a professional to do it.
If you’d rather give it to someone who does this all the time, you can reach out for a free quote from Aron Windows & Doors whenever you’re ready. We install exterior doors all over New York City.